Southern Enterprise Group
Epoxy Floor Coatings
Atlanta’s Best
Concrete Coating Solution
Industrial Grade Materials
Durable & Long Lasting
Various Designer Finishes
Easy to Maintain
100% Satisfaction Guaranteed
Service Warranty
Budget Friendly
Affordable
Partner with the SEG Coatings Team and add Value to your Home
Beautiful & Durable Concrete Coatings
Serving Atlanta metro & Homeowners throughout the Southeast
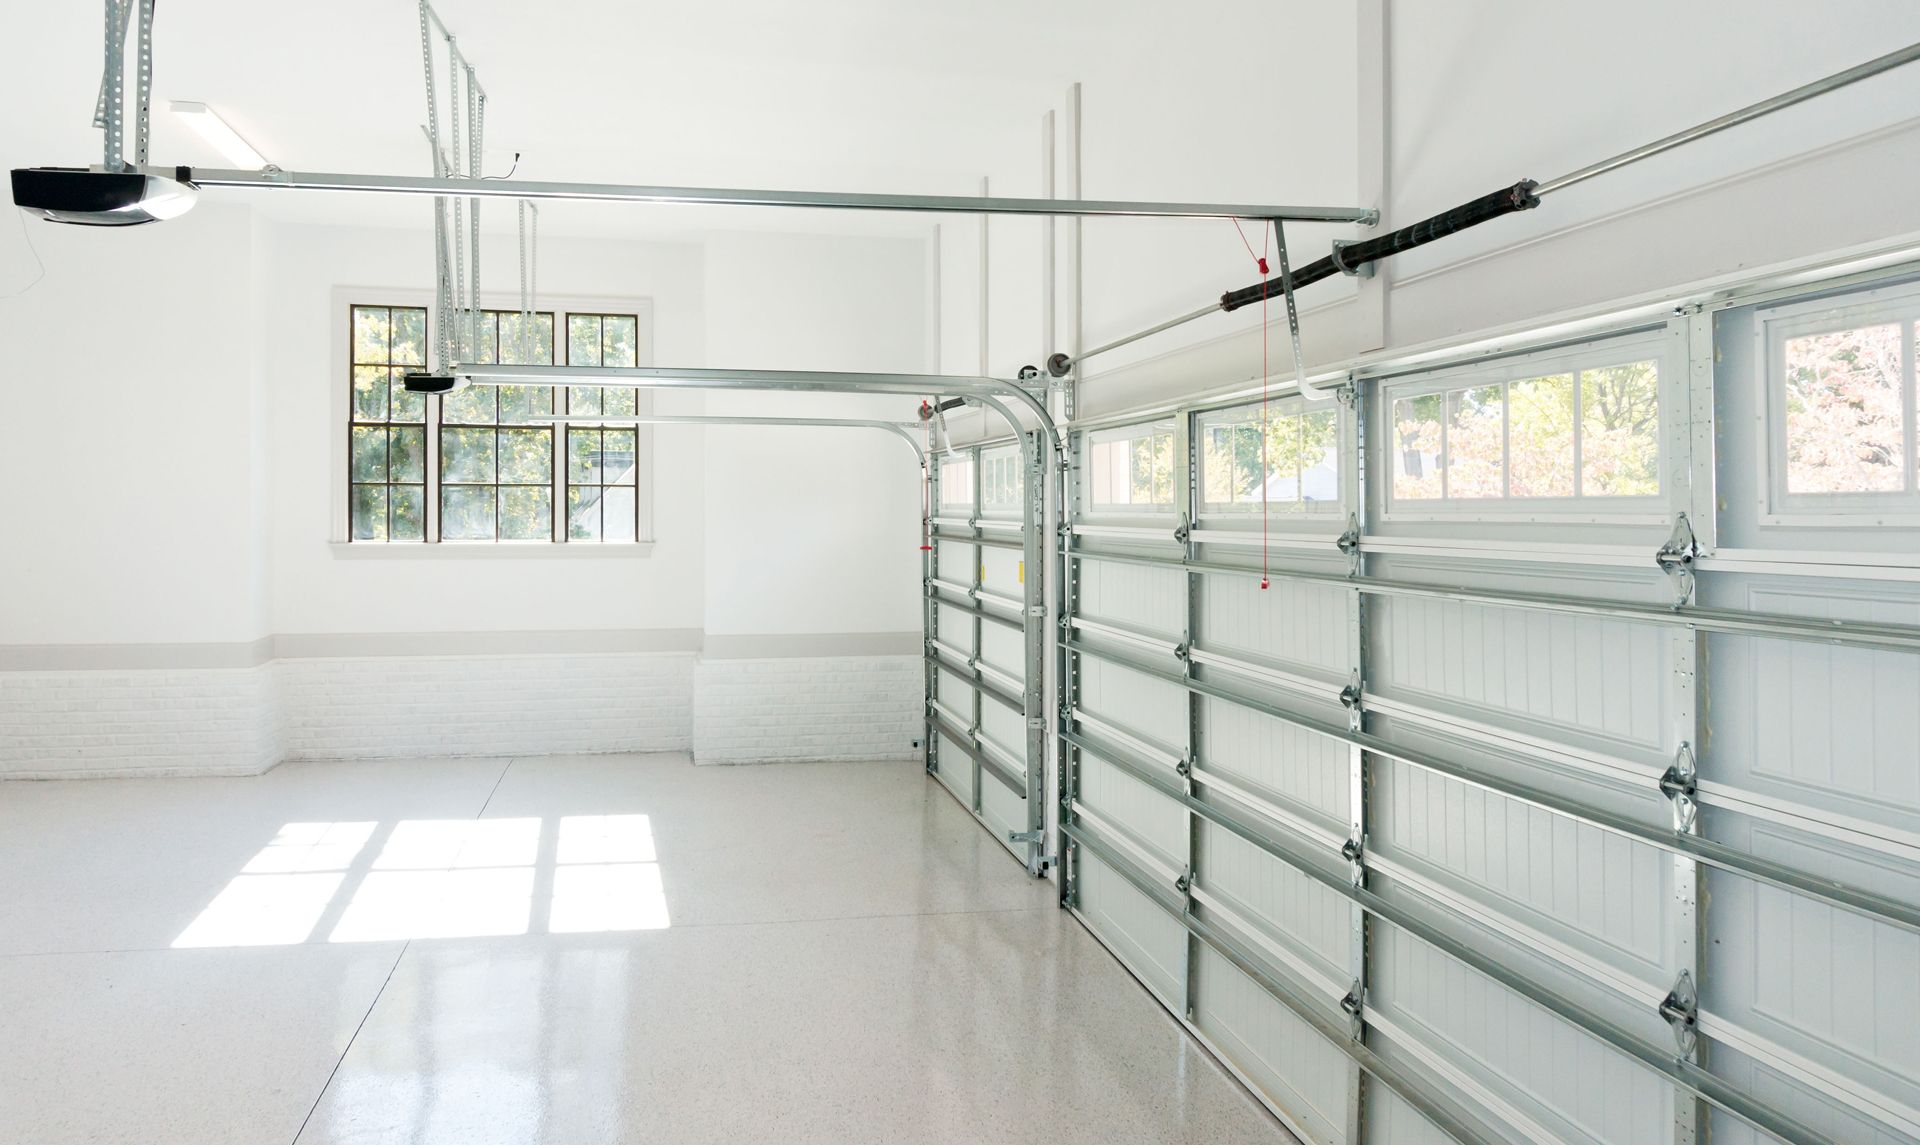
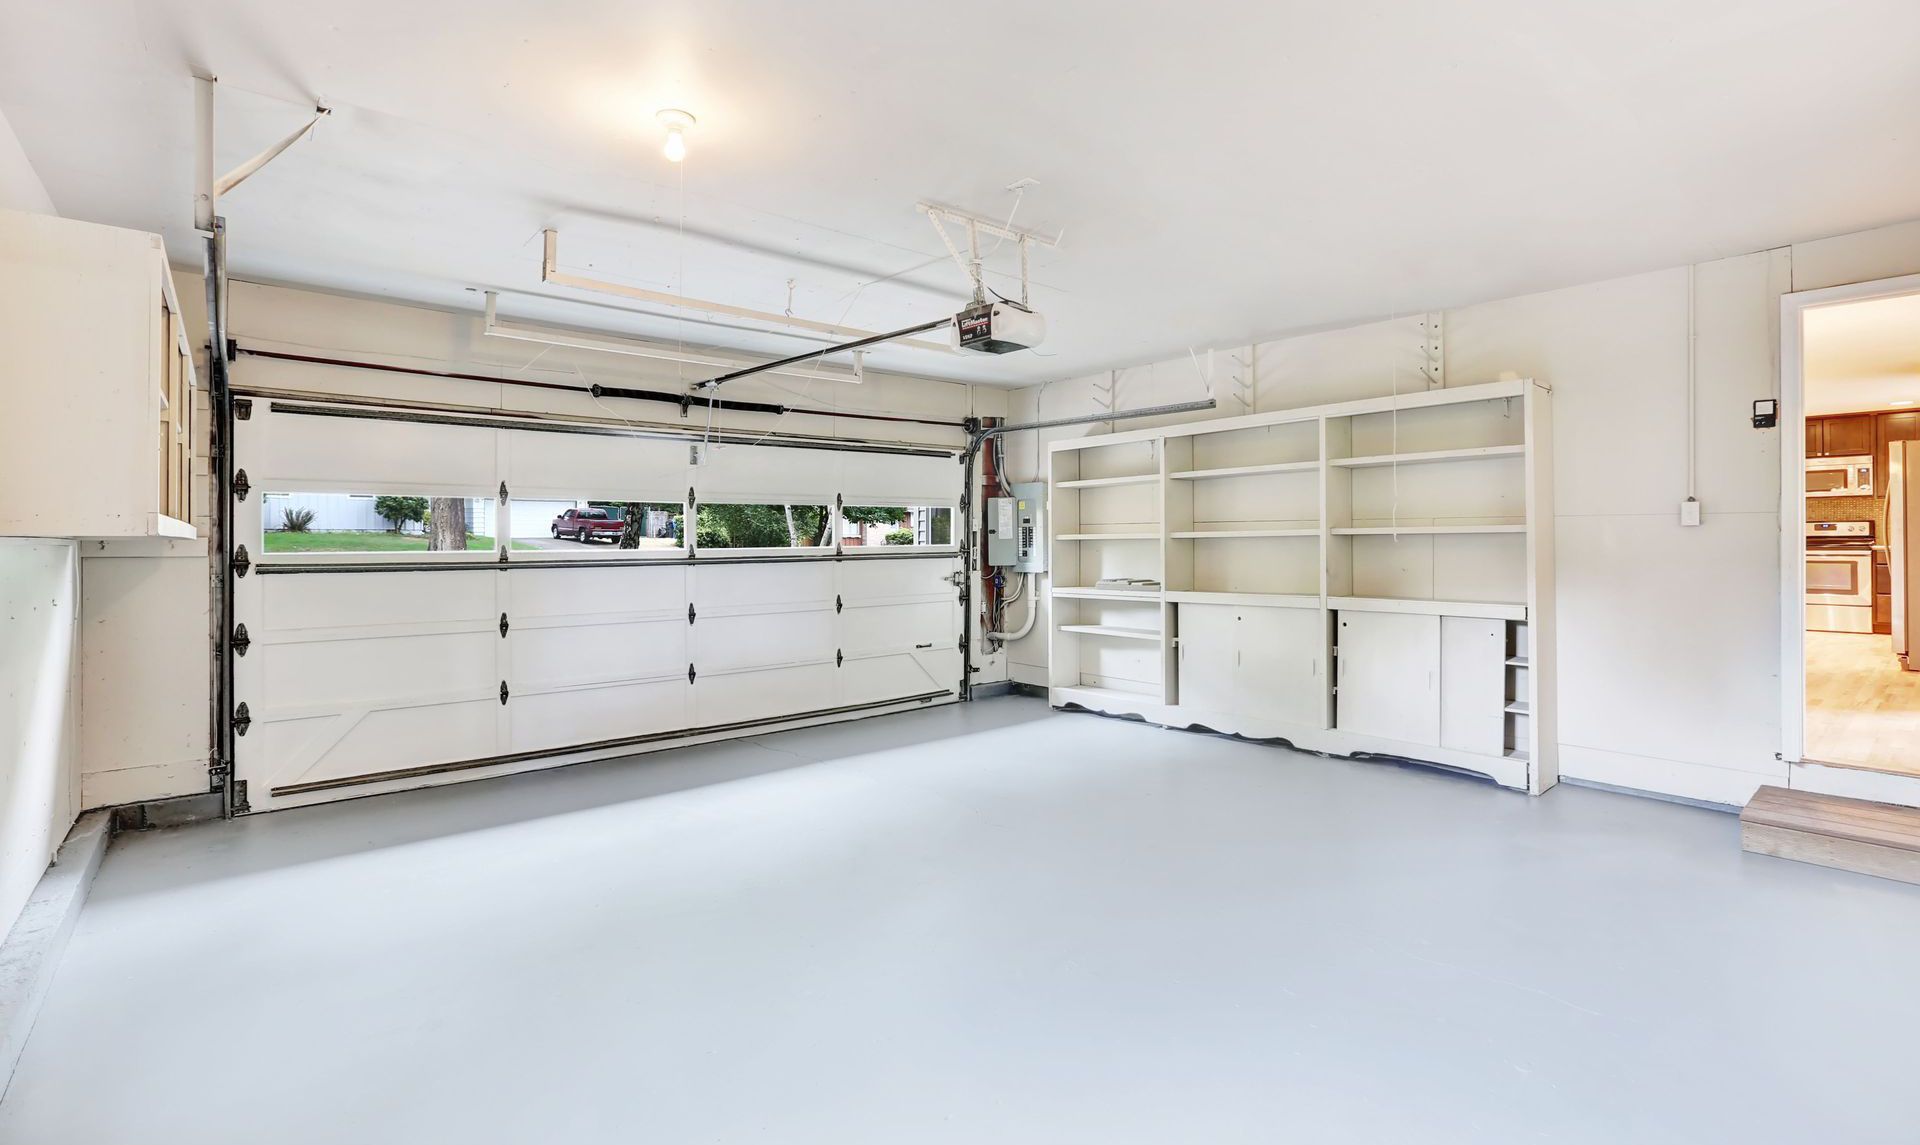
Southern Enterprise Group is committed to providing the highest quality epoxy coatings to homeowners in the Atlanta metro area. Our finished floors are coated with industrial-strength materials that are durable, stain resistant and long-lasting.
We have provided homeowners, building contractors and commercial clients flooring solutions for over ten years. Our focus on customer satisfaction is our #1 priority and if you are not satisfied with the final product, we’ll fix it for free.
The SEG team understands the value our products add to your home and appreciate the trust you place in us on such an important project. We take great pride in delivering on our promises and always work with our homeowners in an open, honest and trustworthy manner.
Our installers are certified and trained to industry standards for epoxy application. Our coating products are from top commercial manufacturers, and we stand behind these products with a 100% customer satisfaction guarantee. Our coating products withstand chemicals, climate variation, UV rays, vehicle tire wear and just about anything else you can throw at it.
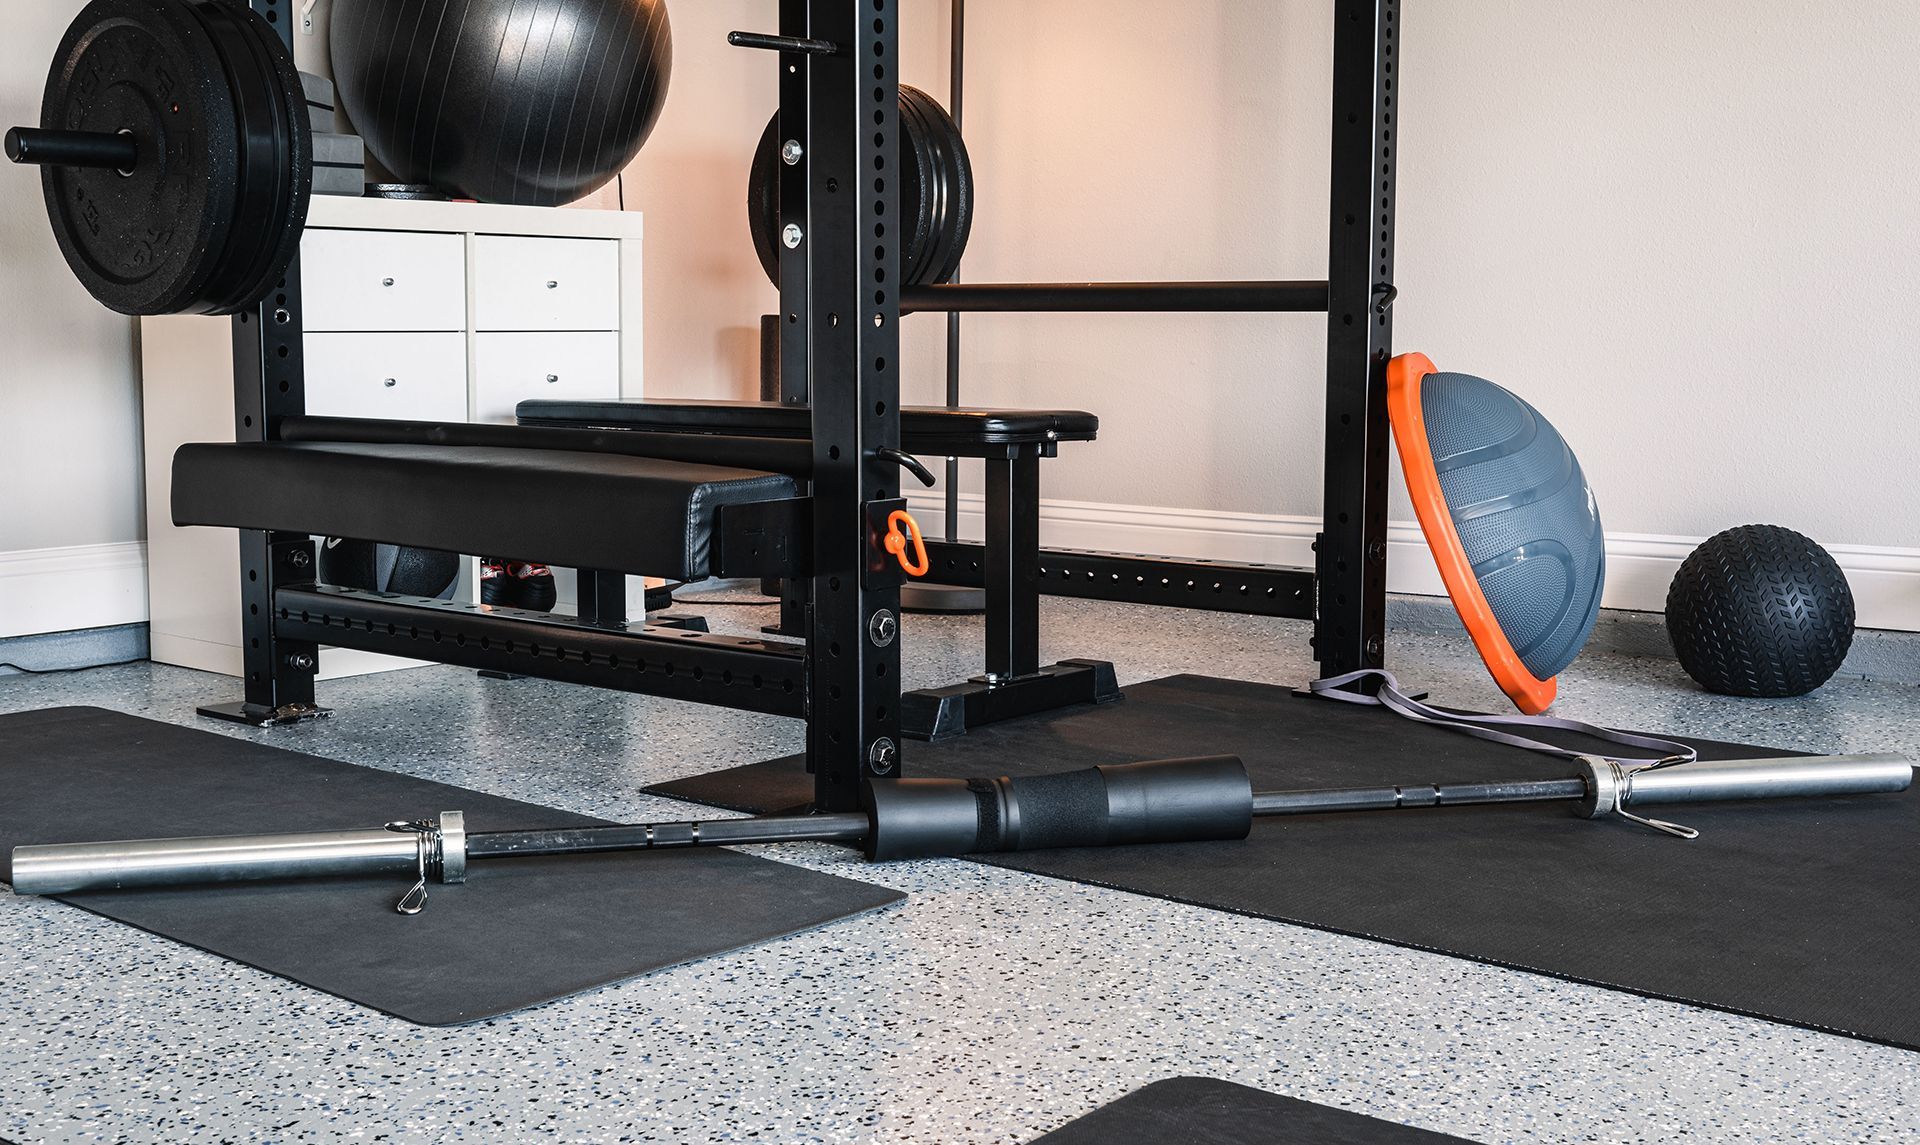
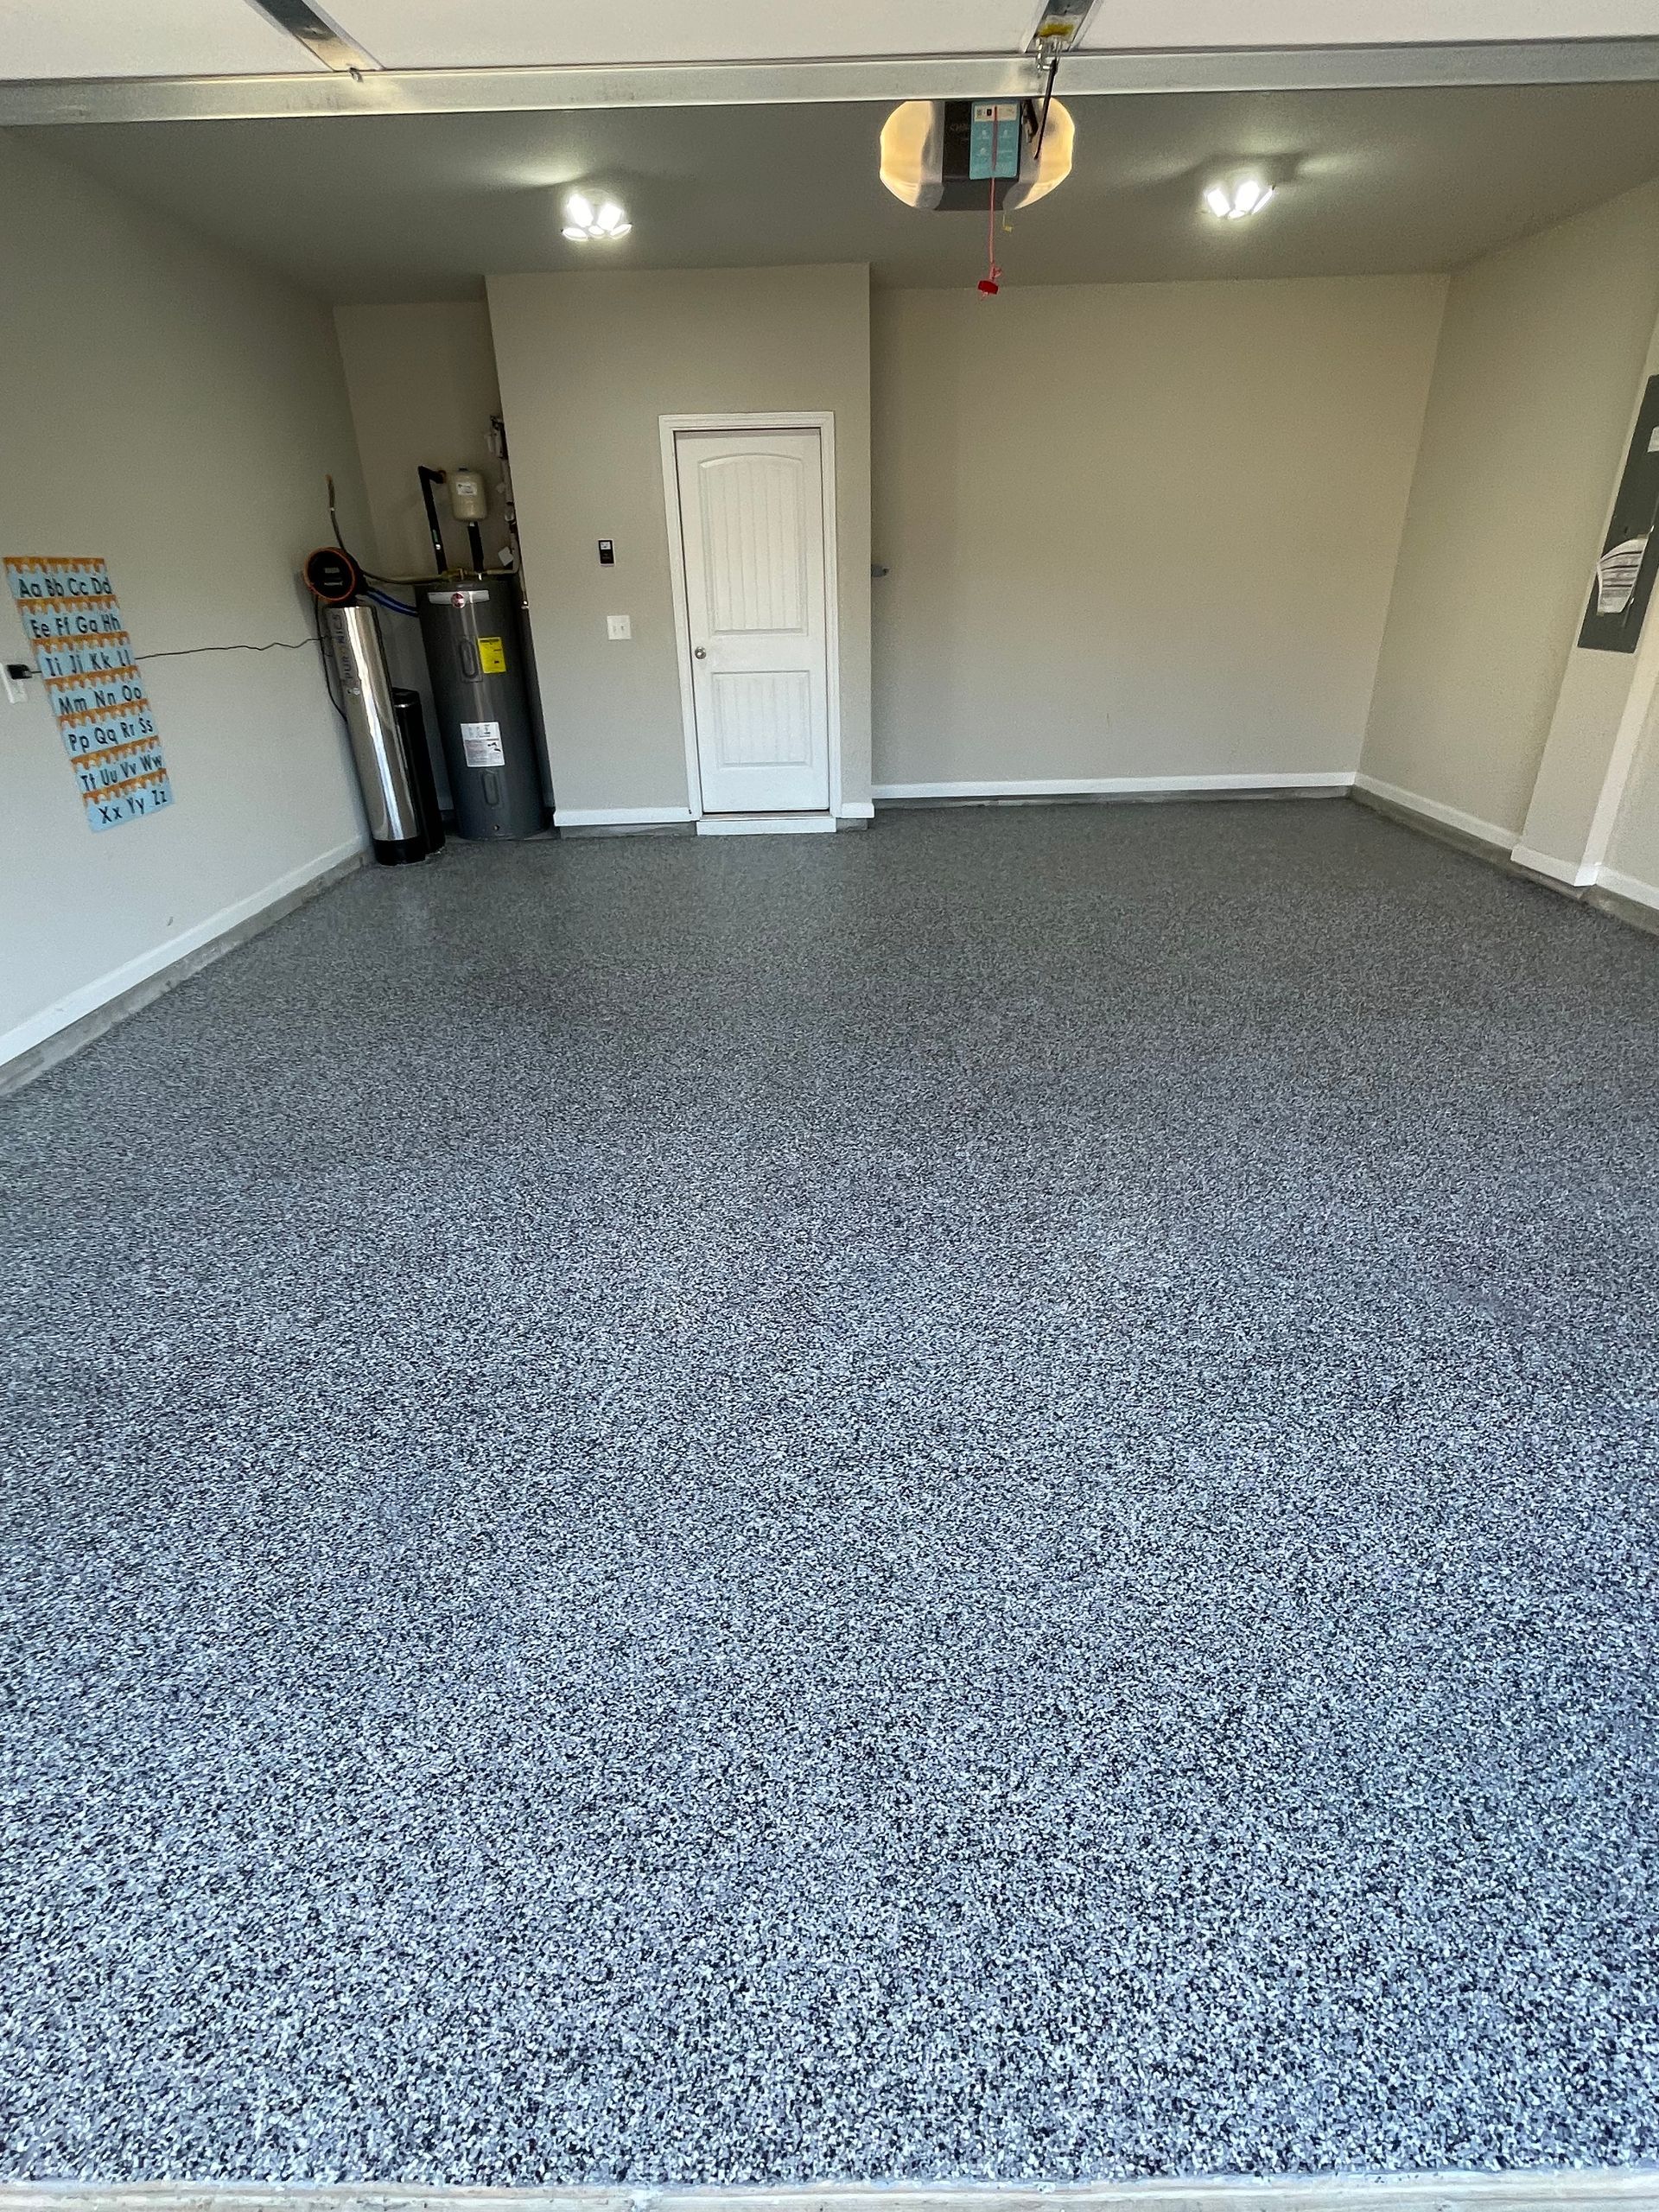
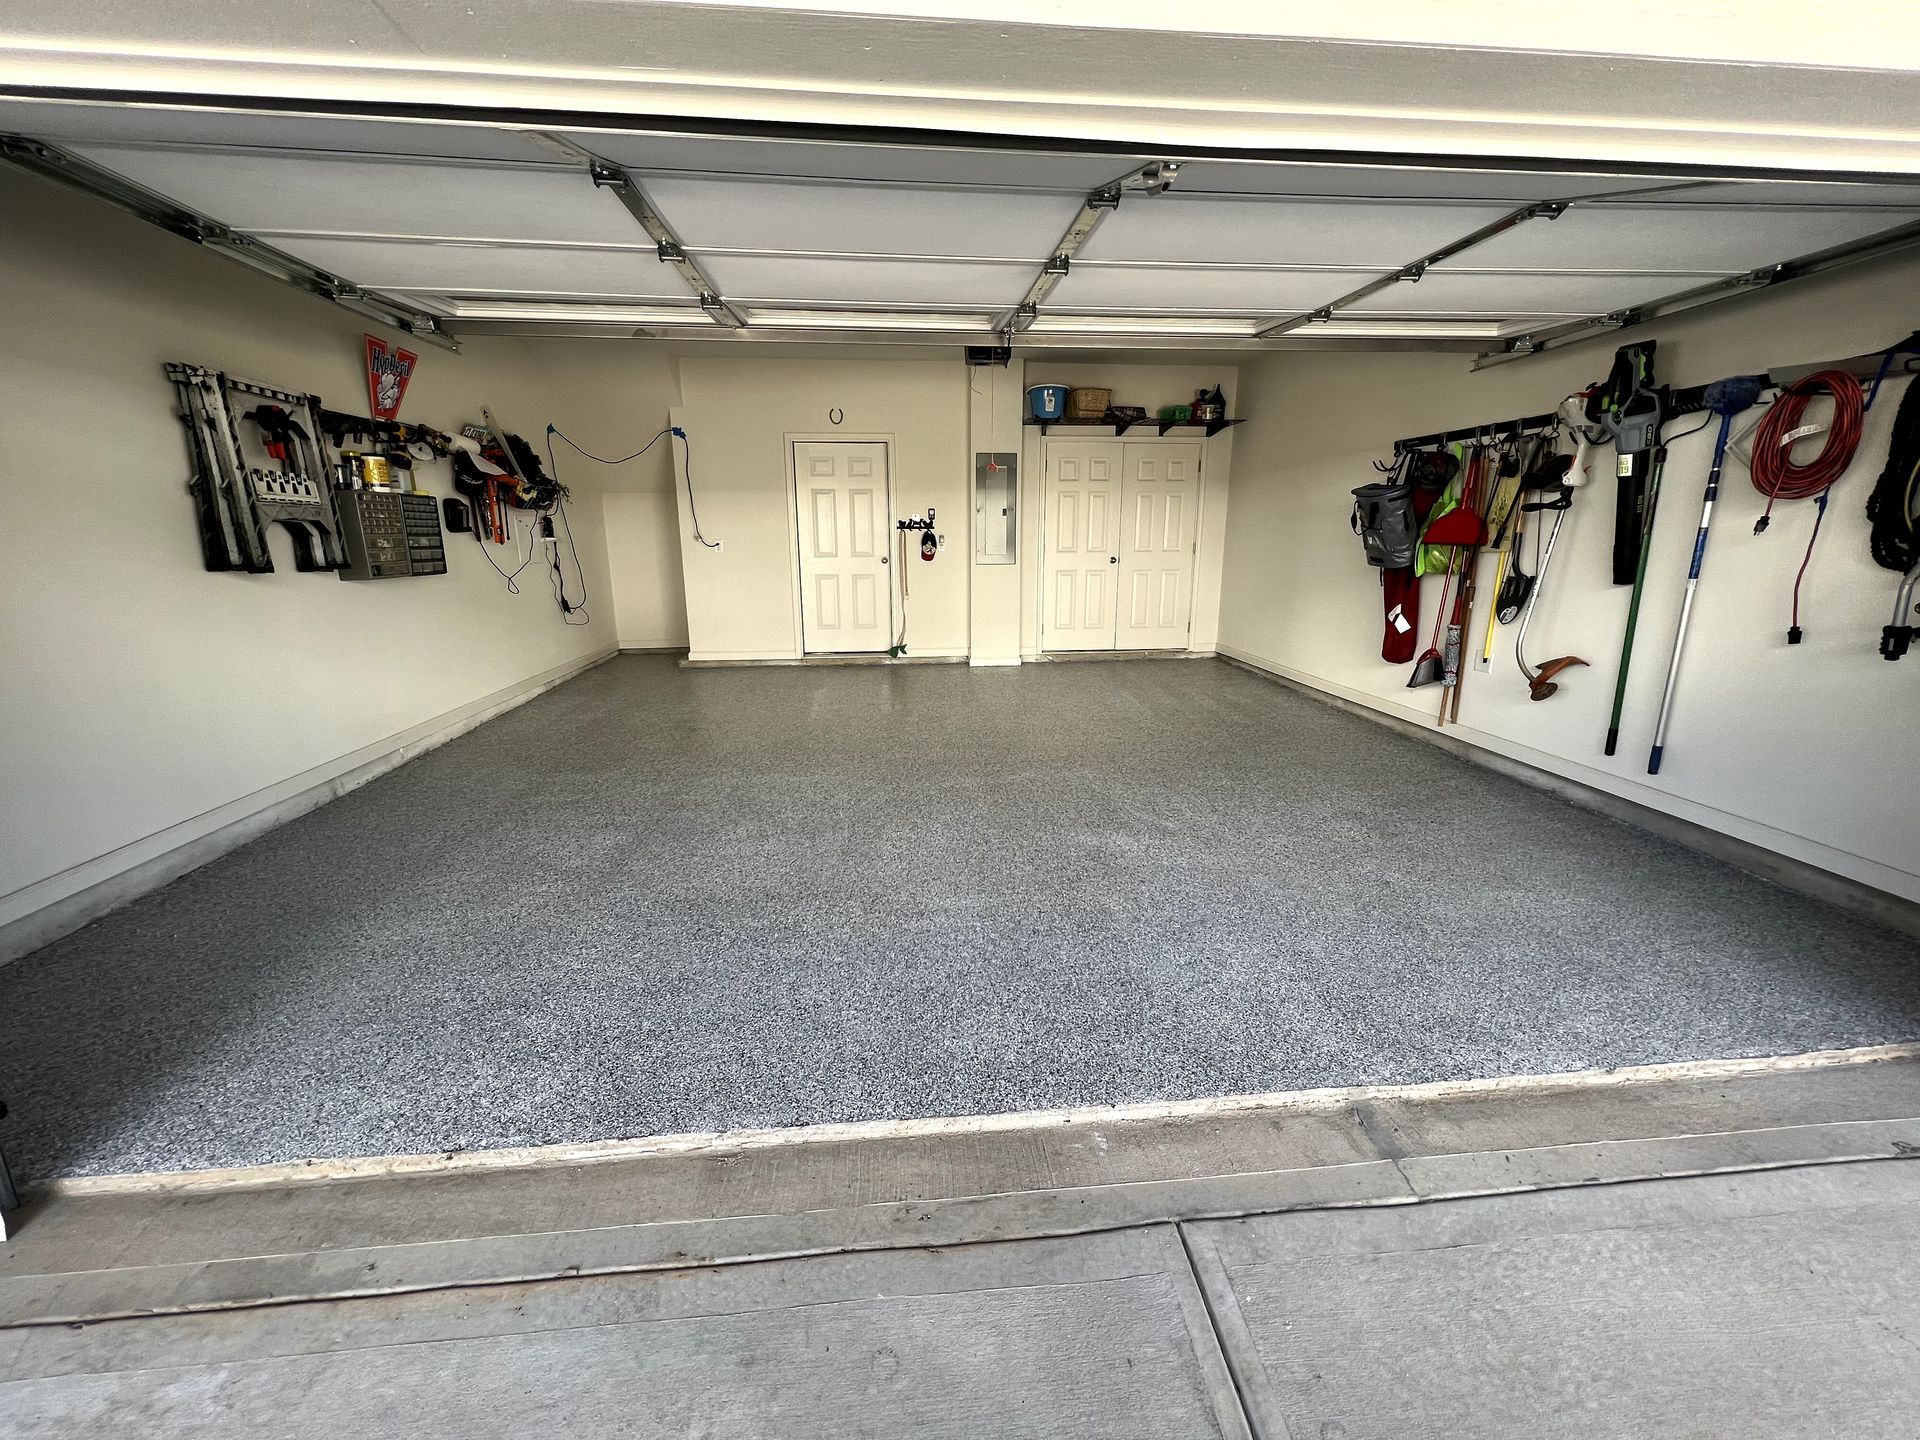
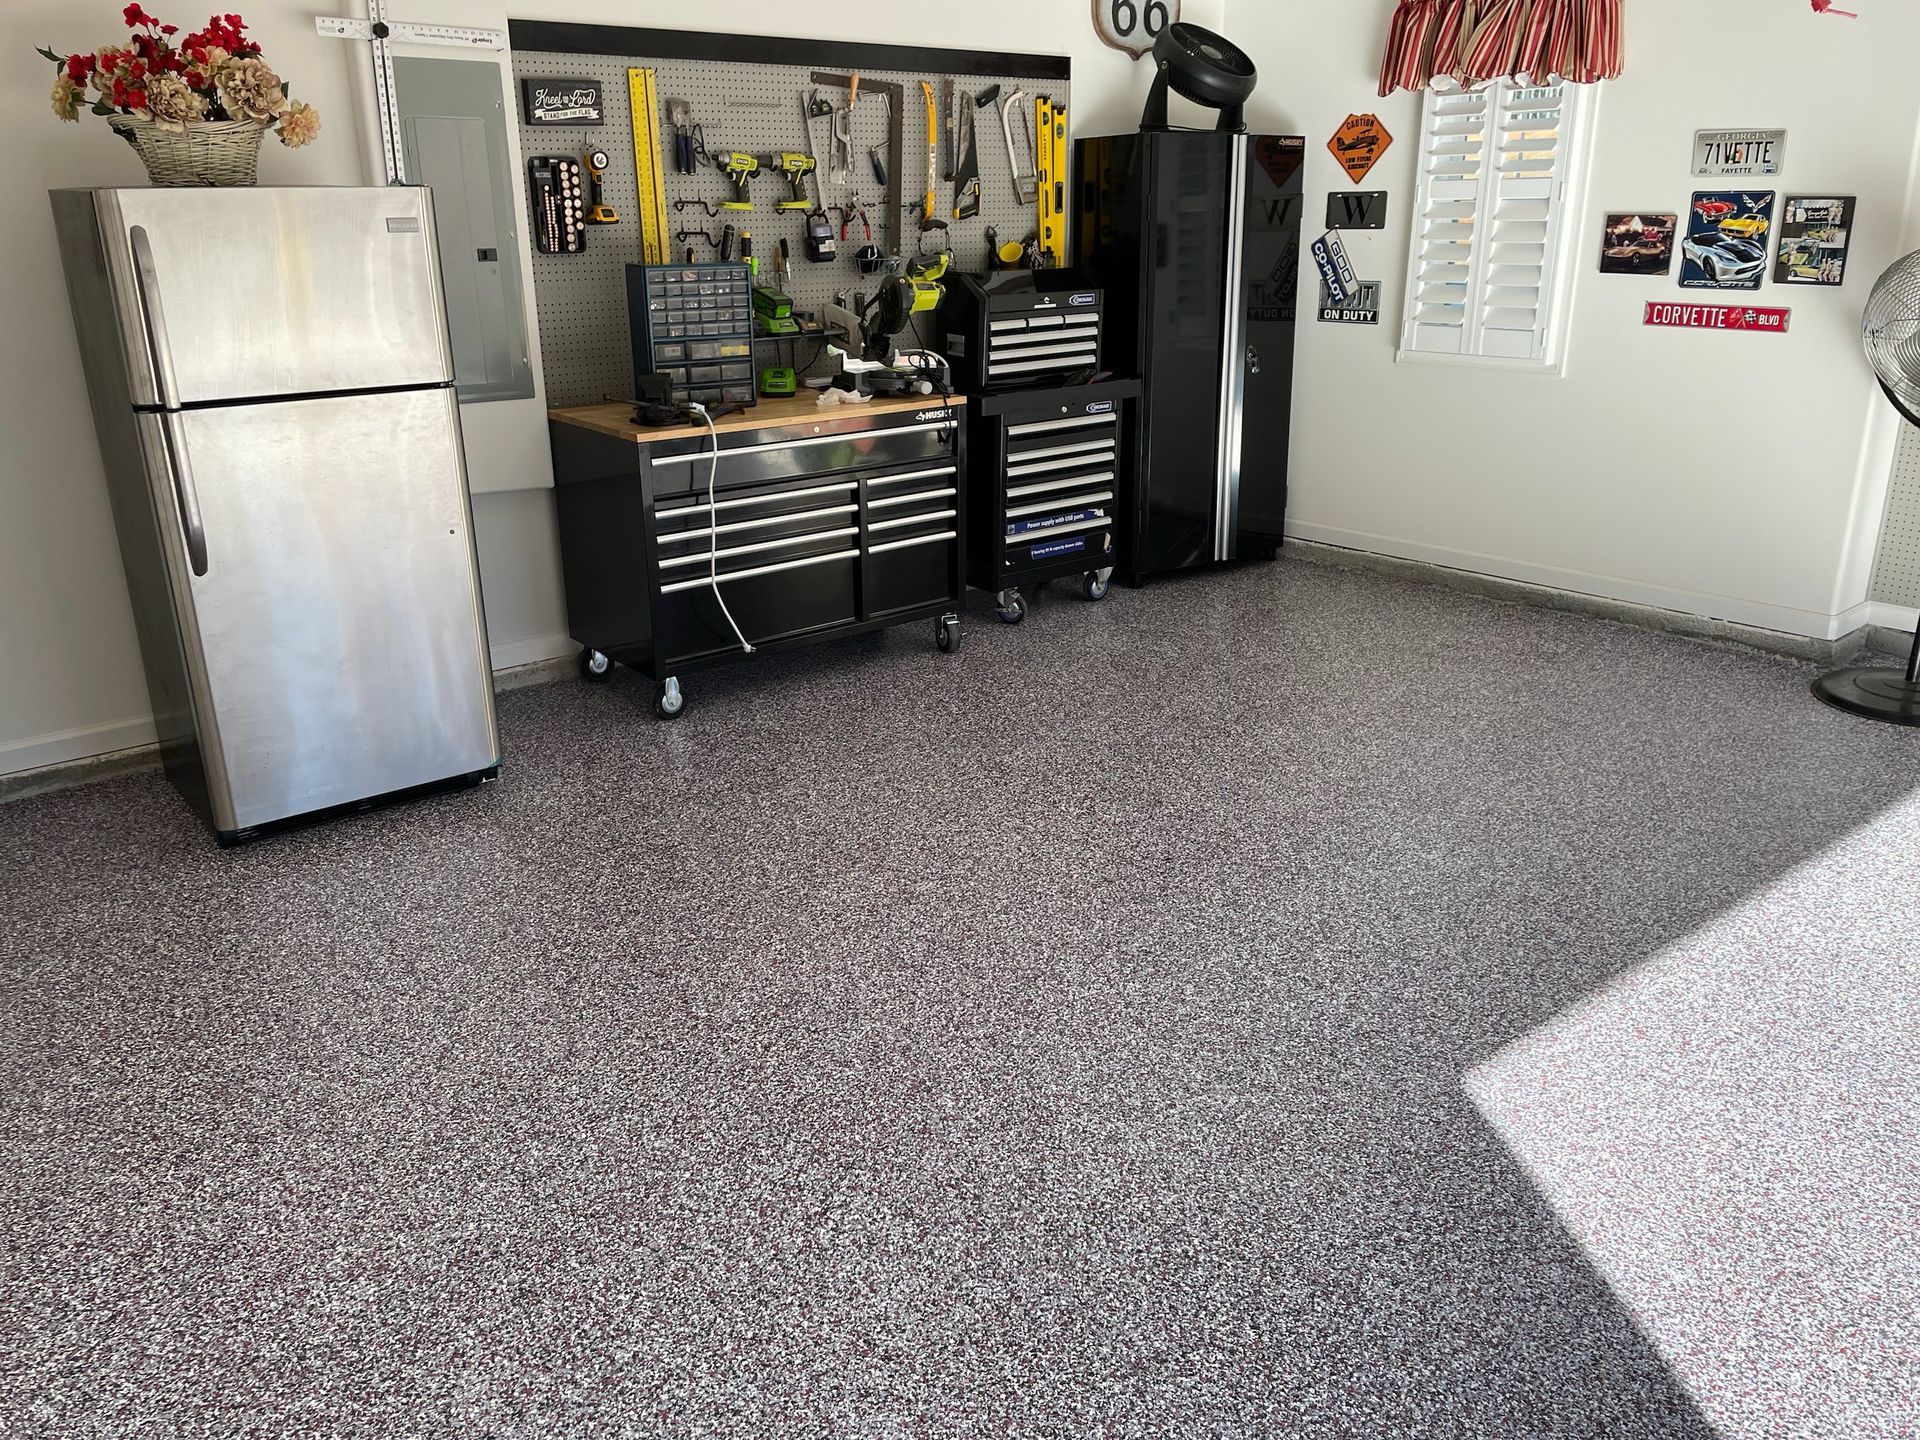
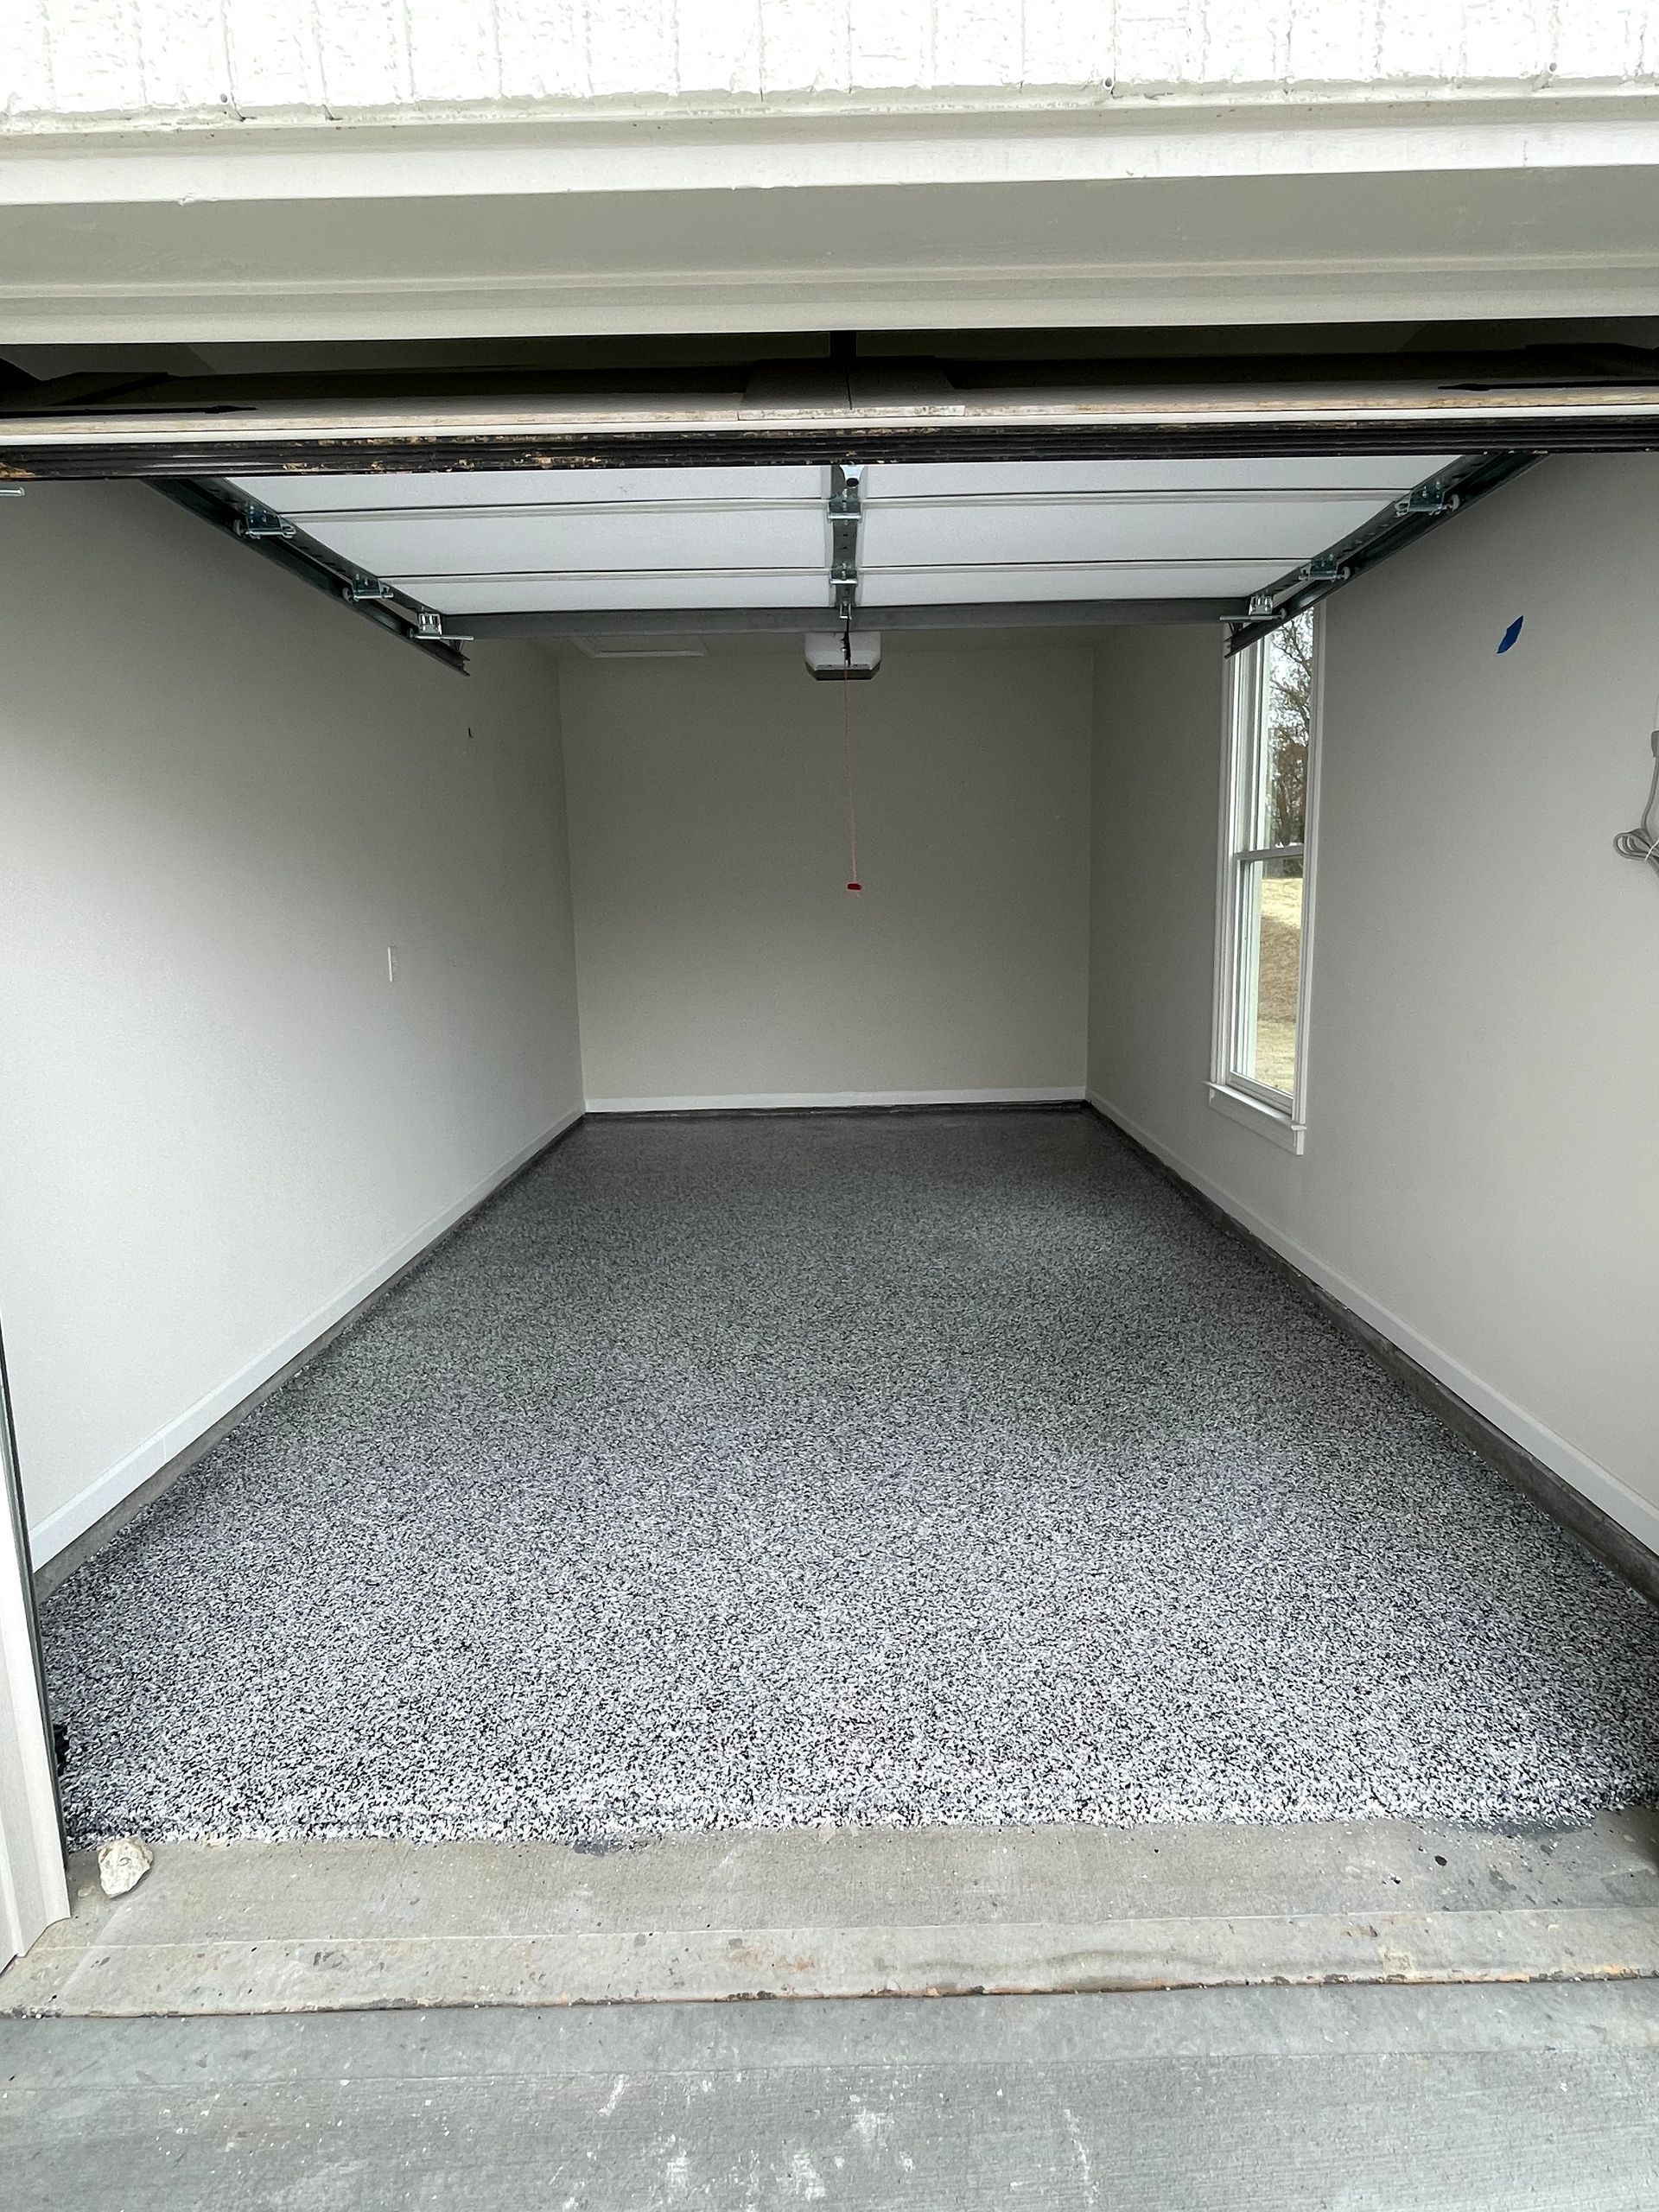
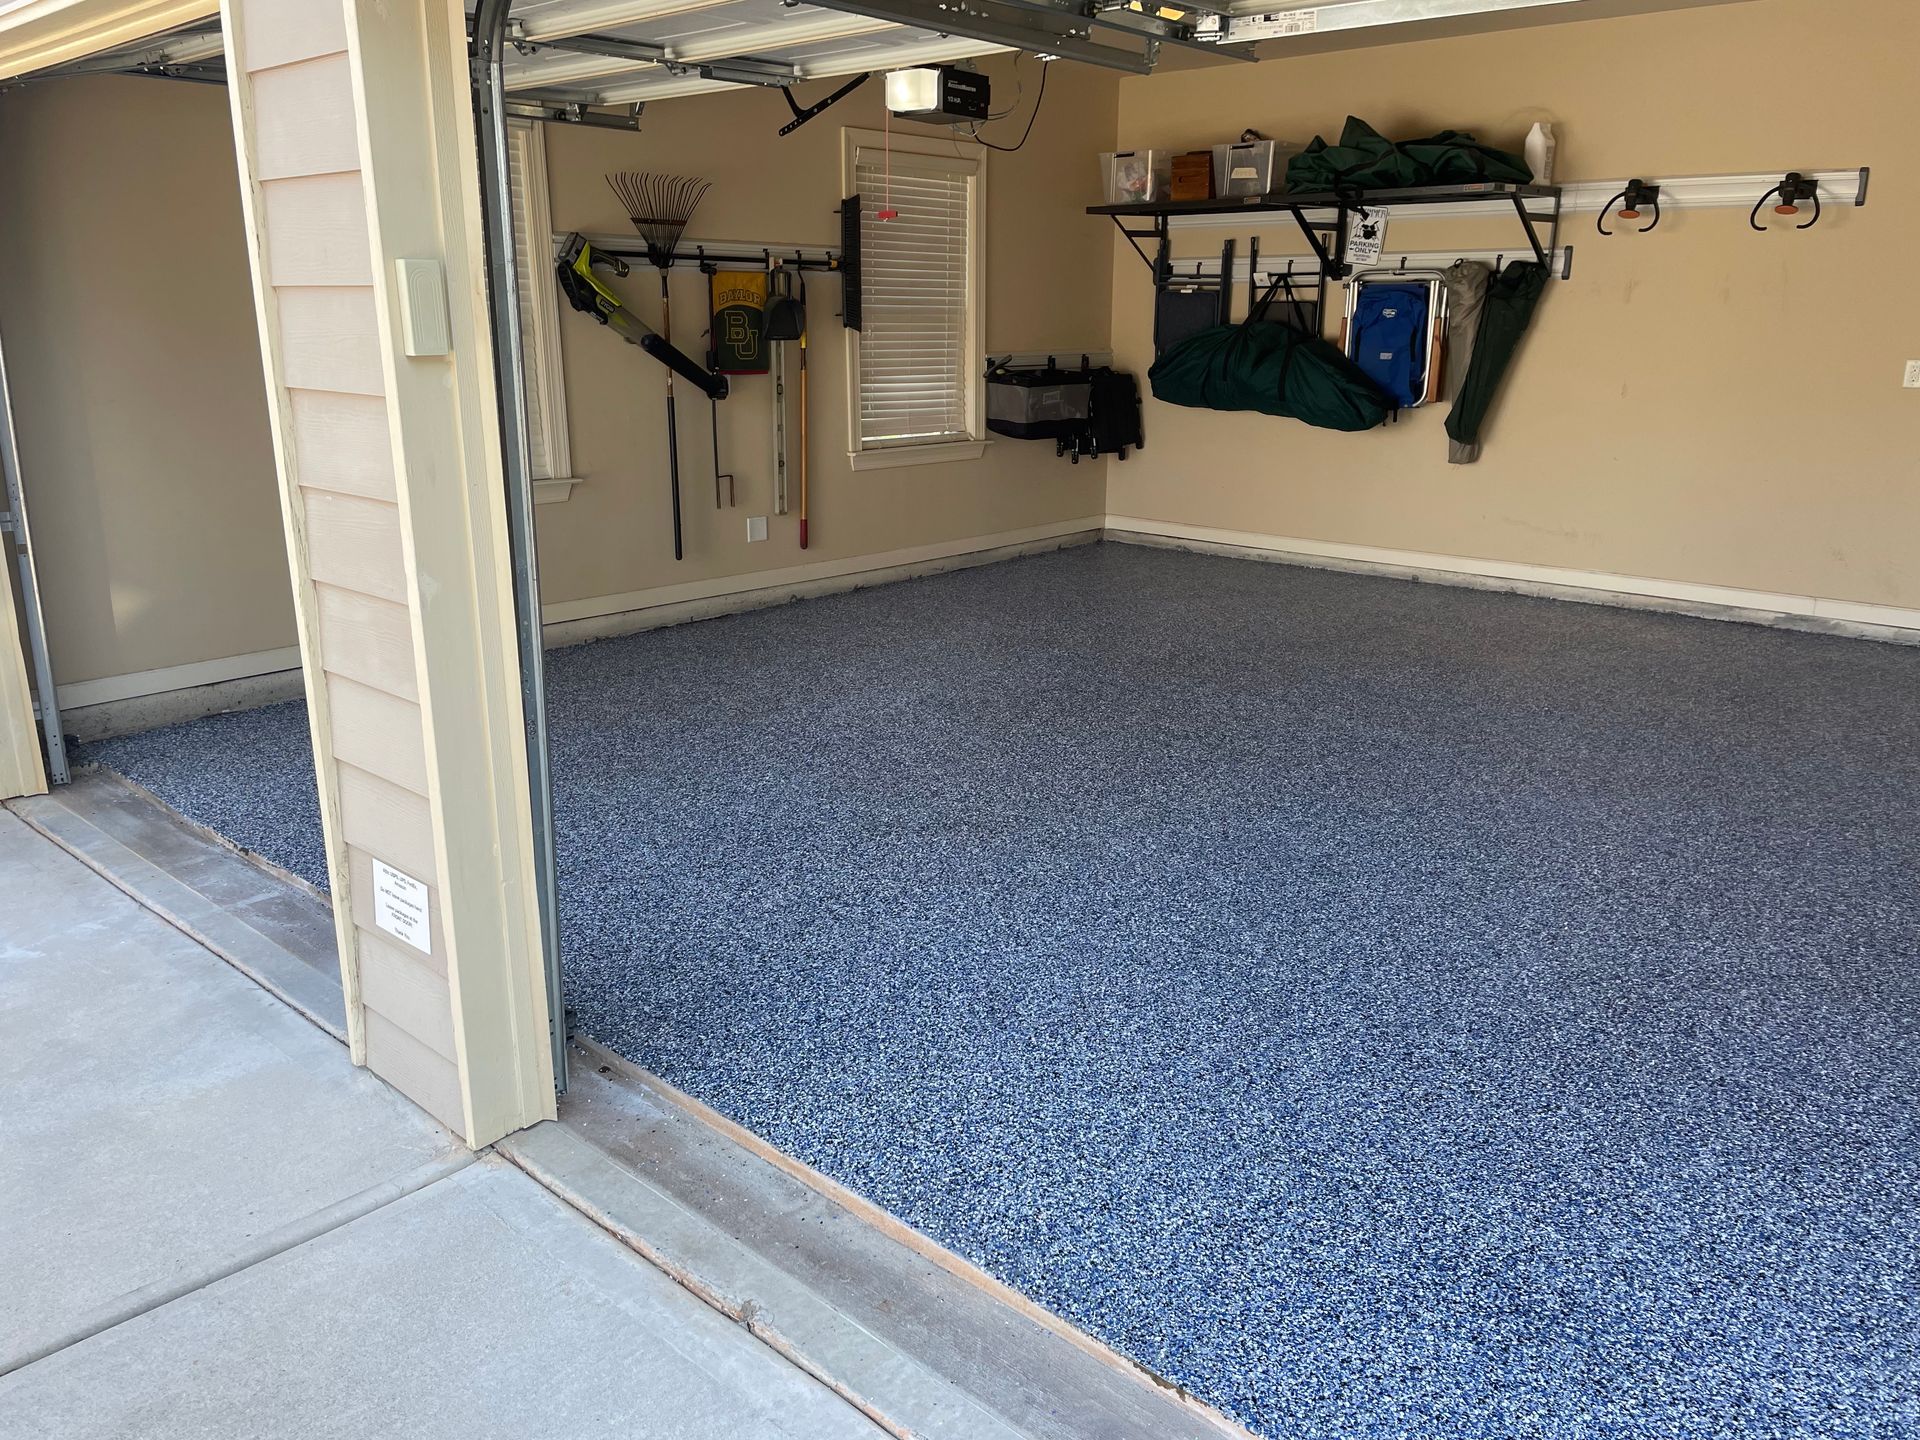
Garage Floor Coatings

Basement Floor Coatings
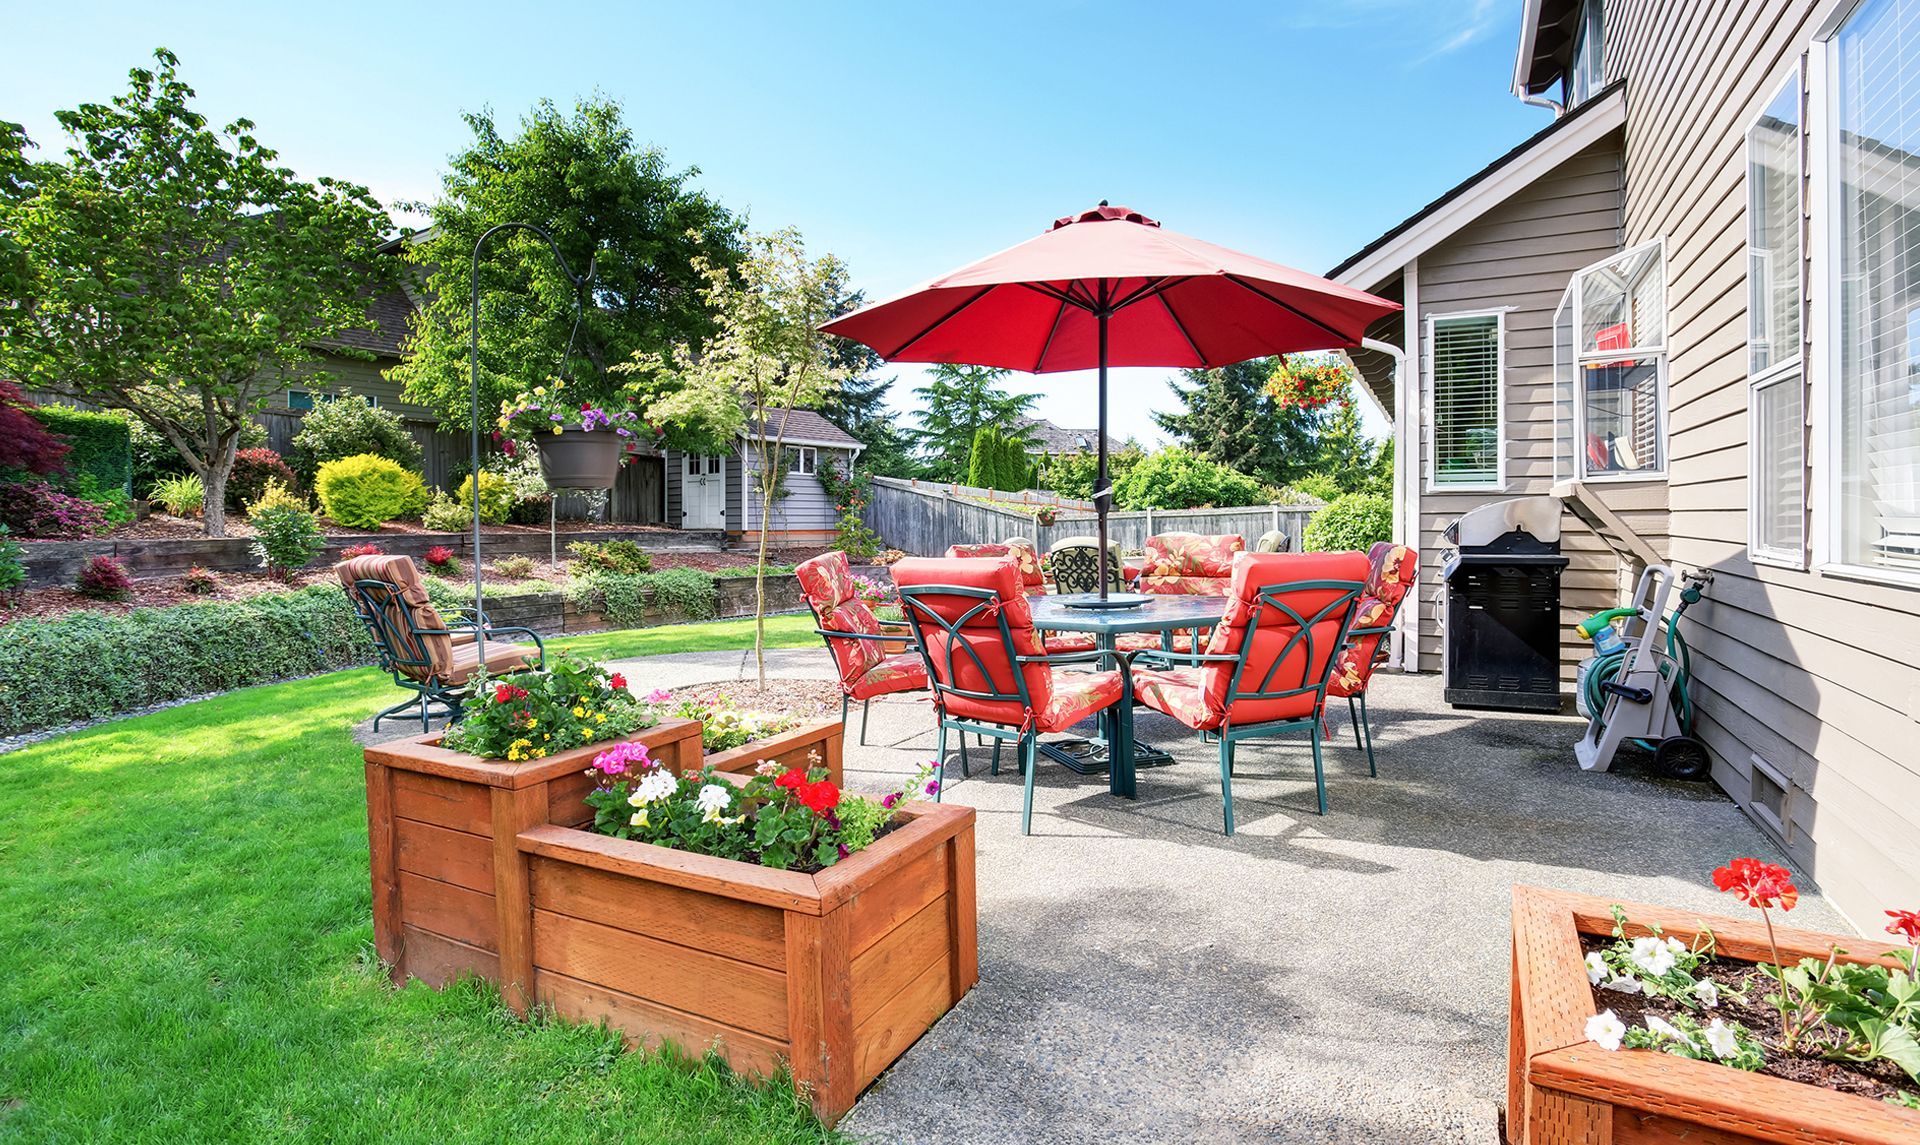
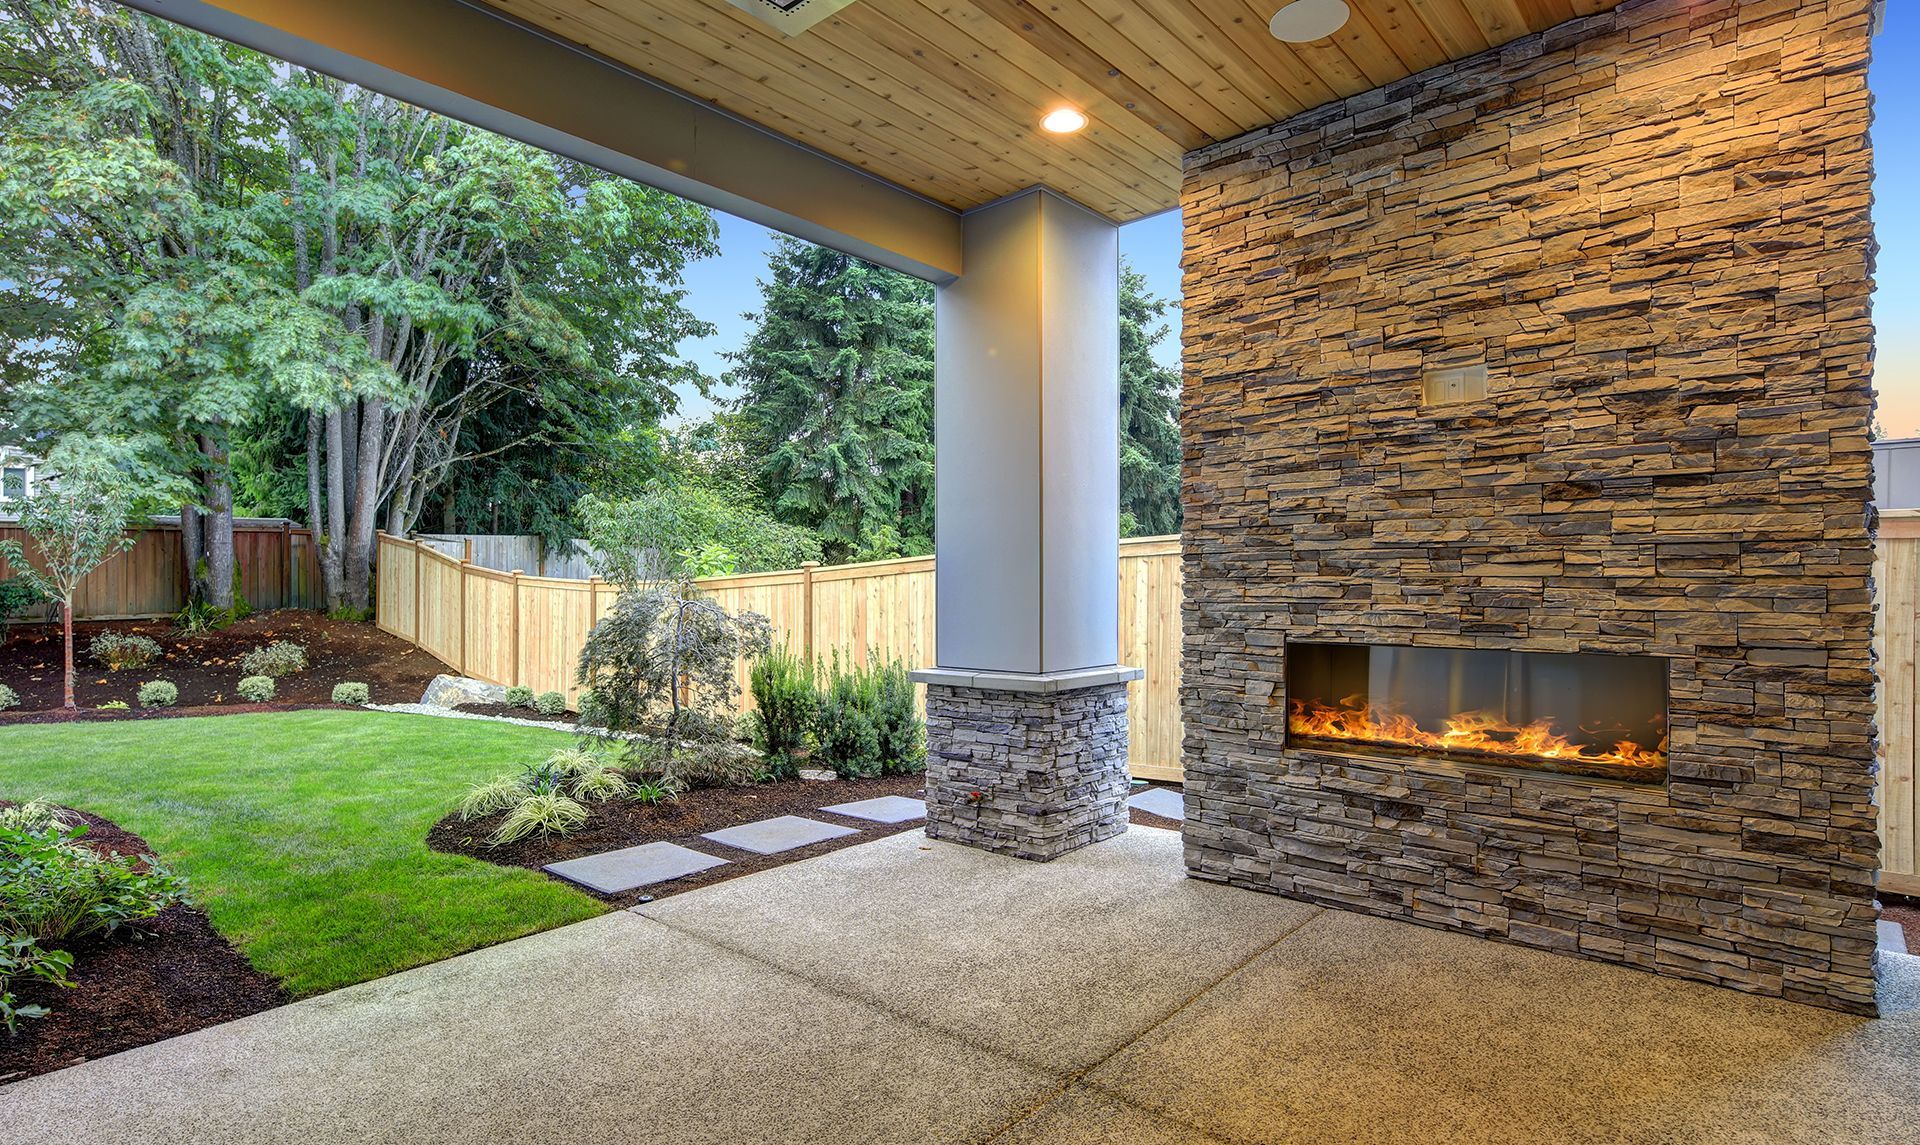
Patio & Porch Floor Coatings

How We Work

First Conversation
Complete the online quote request and we will call you or you can call us directly for a full explanation of our process. We will discuss your desired outcome, desired colors and finishes, size and condition of your space and timeframe for completion.
Our call objective is to educate you on the SEG quoting process and provide insight into the quality of our materials and the experience of our certified installation team. We will cover all of this prior to arranging for an in-home appointment.

In-Home Appointment
During this appointment, our certified installers will explain our prep and installation process and answer any questions. They will provide samples of the colors and finishes available and take area measurements. We will assess the condition of your floor and evaluate those areas needing repair (cracks and flaking).
Once we understand your desired outcome and all information is gathered the installers will provide a final quote and discuss available installation dates prior to leaving your home.
Prep & Installation
Our process takes 1.5 days to prep, install and clean. Our team will deliver a complete turn-key solution that gets your family back to utilizing the space within 24 hours of completion. Sufficient curing and drying time is critical to providing long lasting durability.
Our certified installers are knowledgeable, experienced, and follow manufacturer installation standards. Rest assured our team will stay on schedule and provide you multiple updates throughout the process.
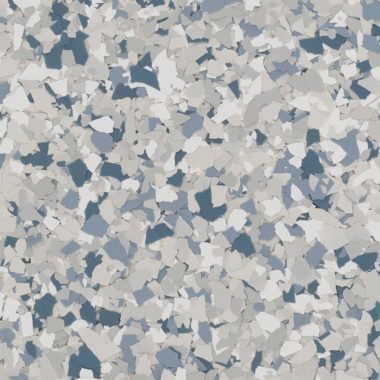
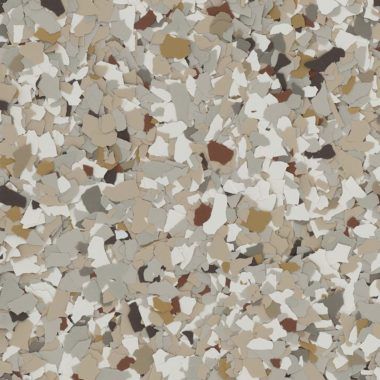
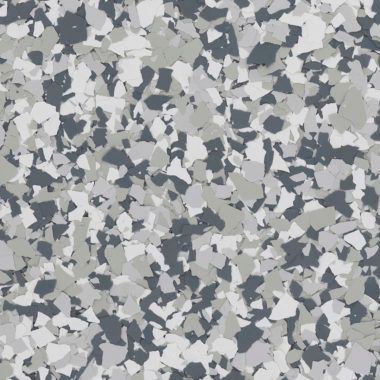
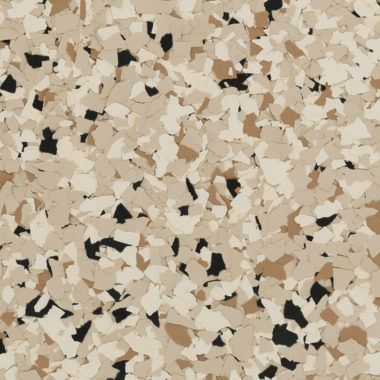
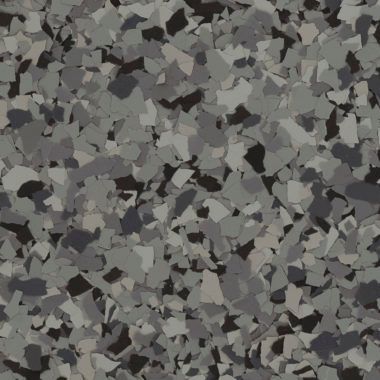
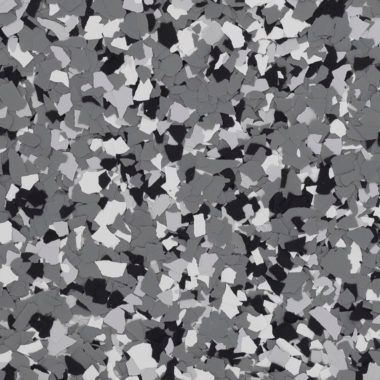
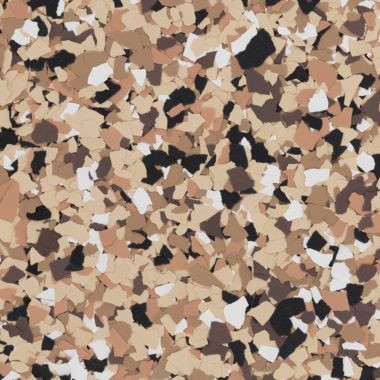
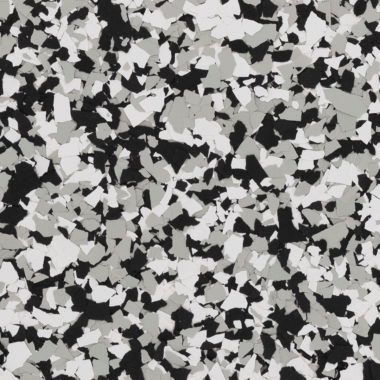
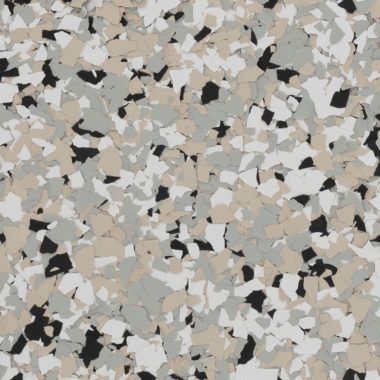
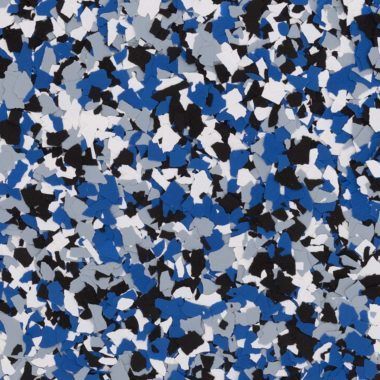
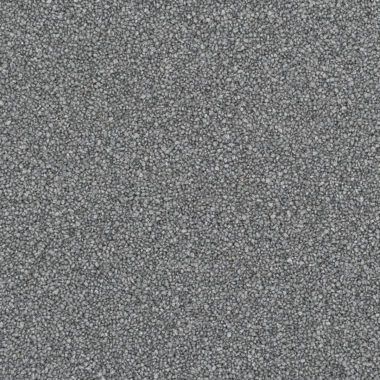
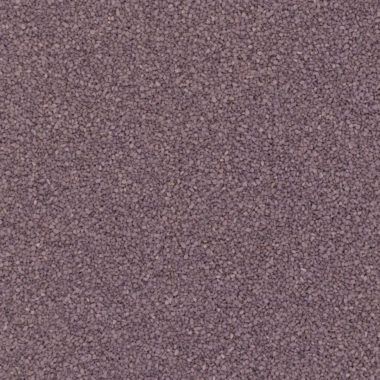
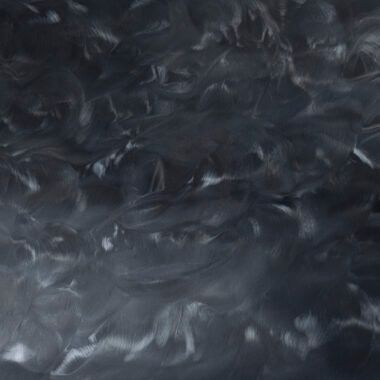
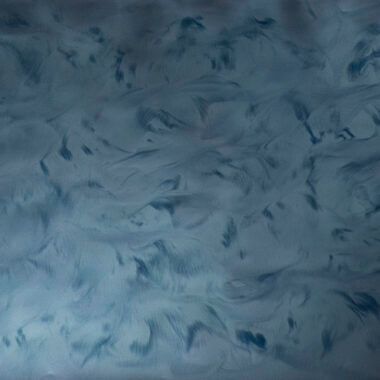
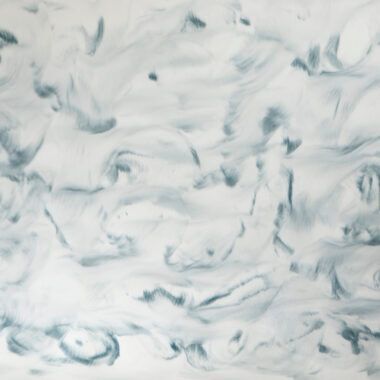
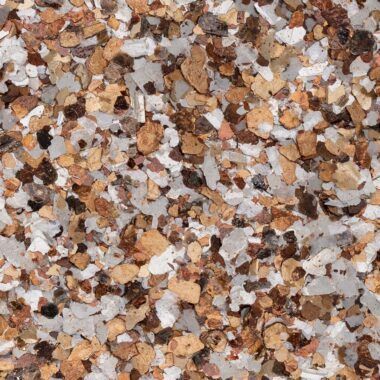
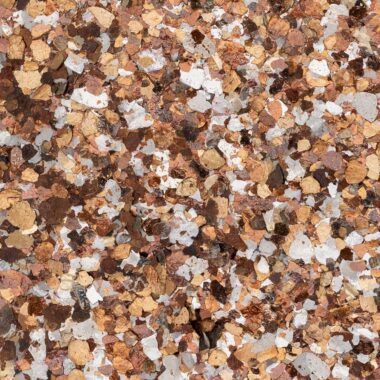
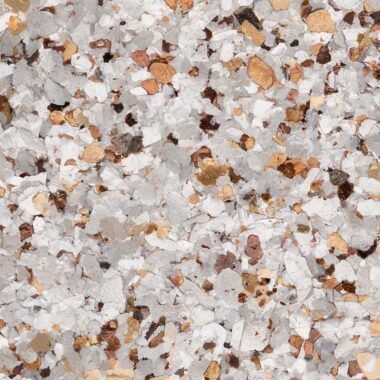
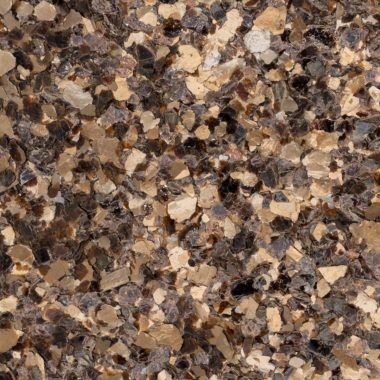
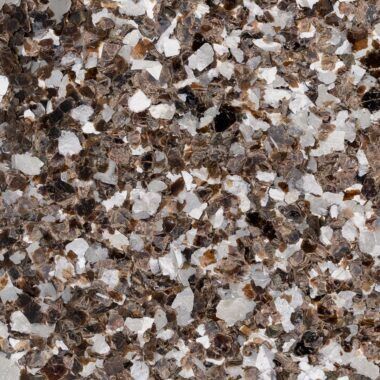
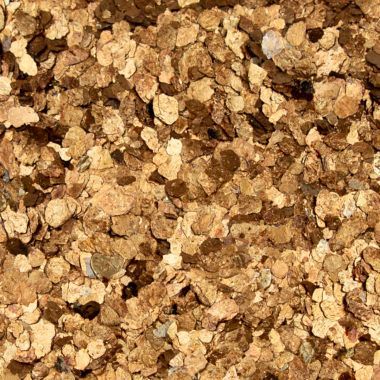
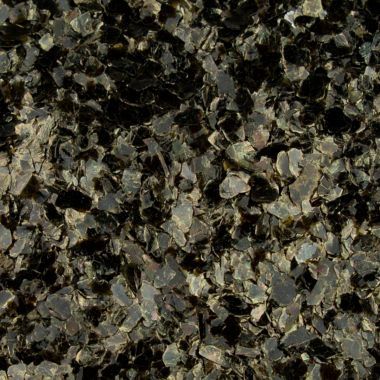
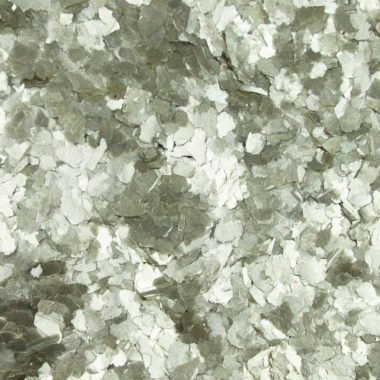
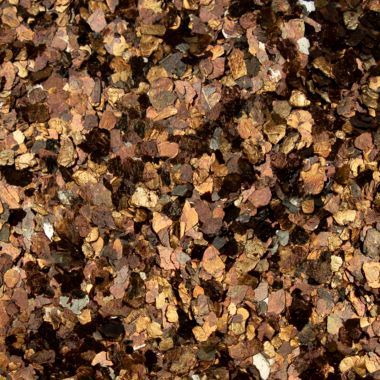
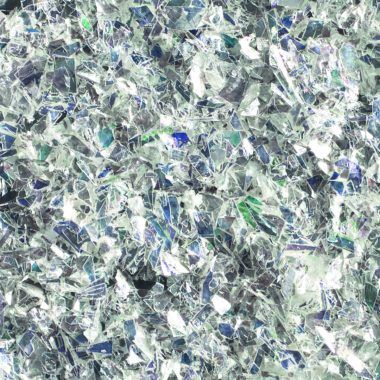
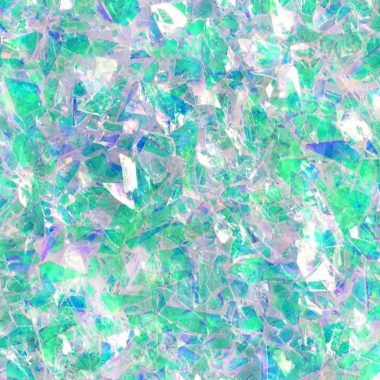
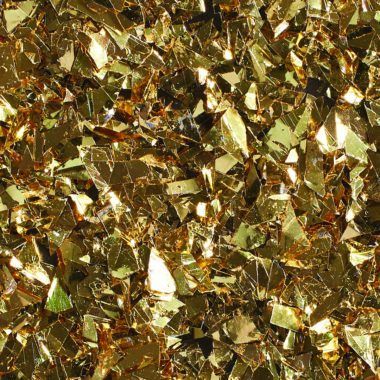
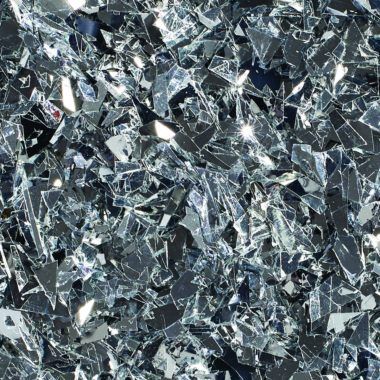
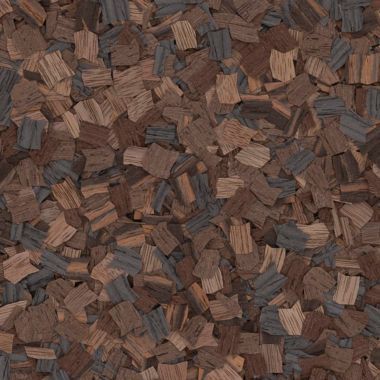
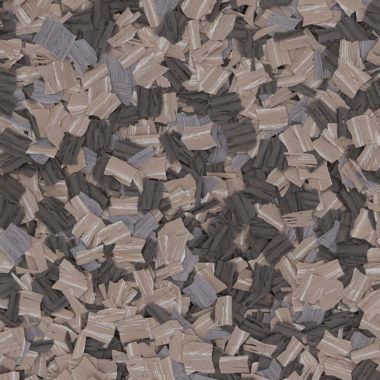
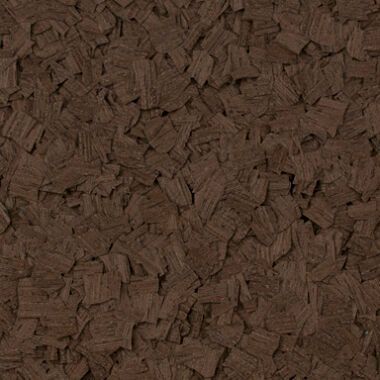
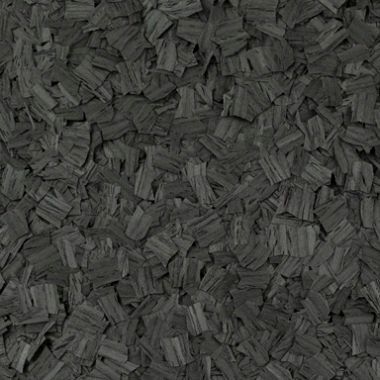
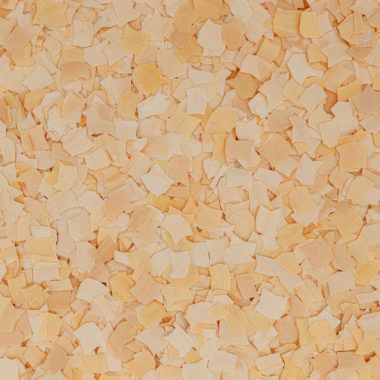
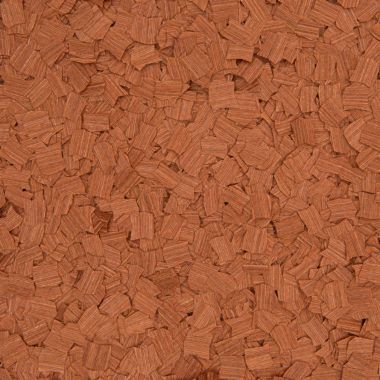
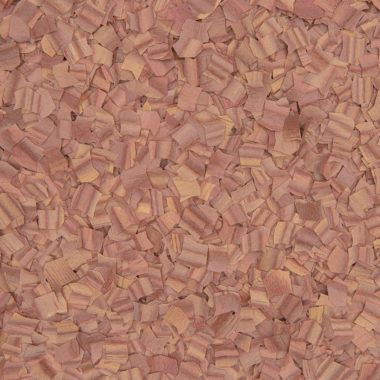
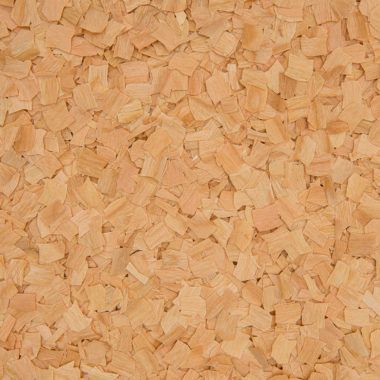
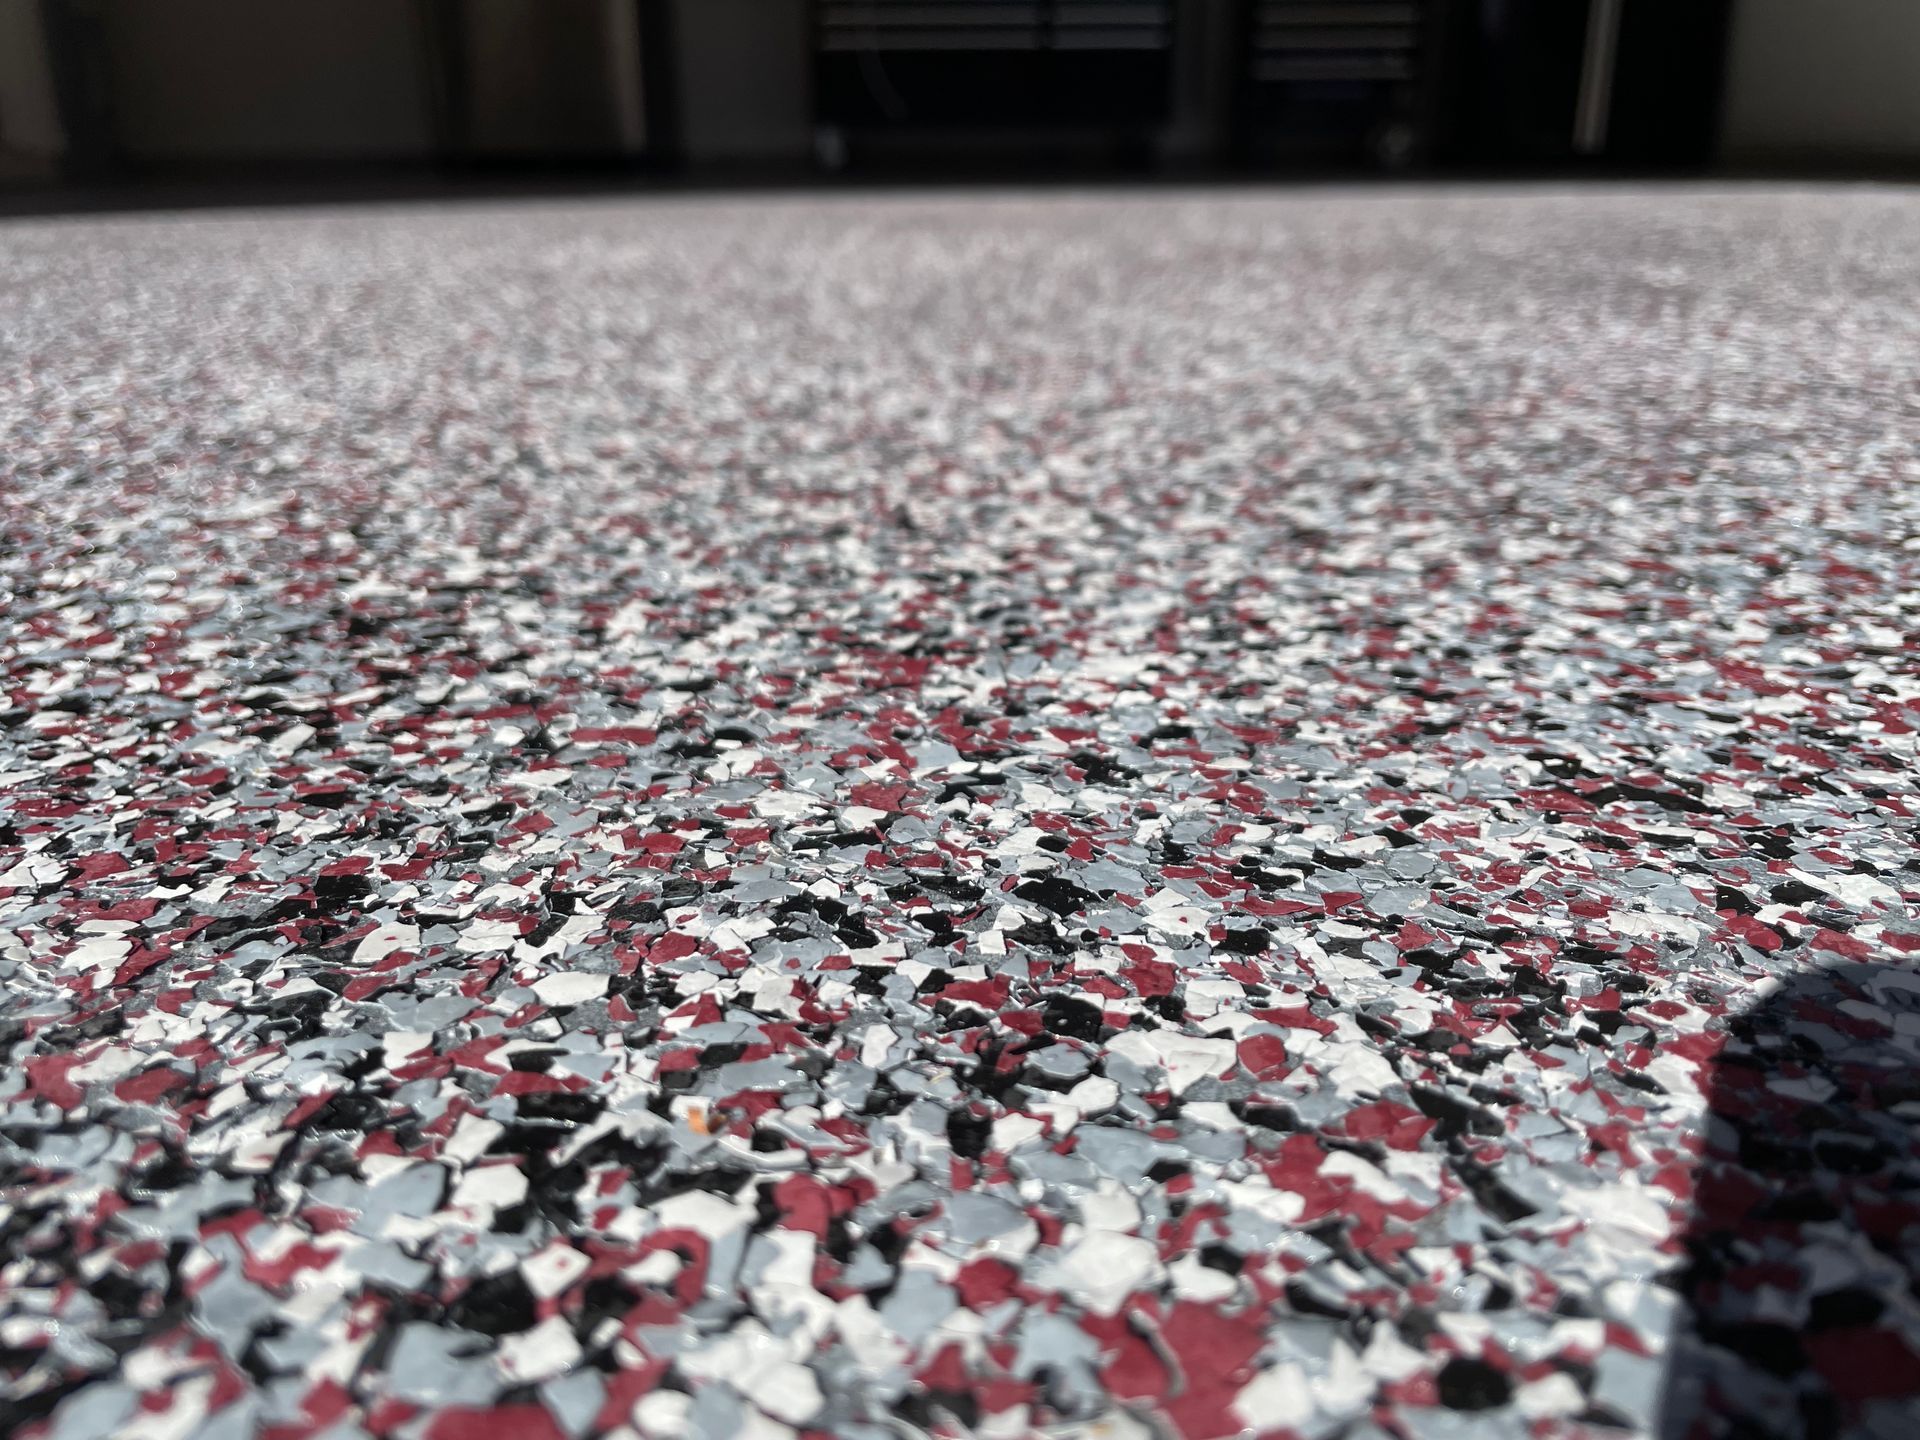
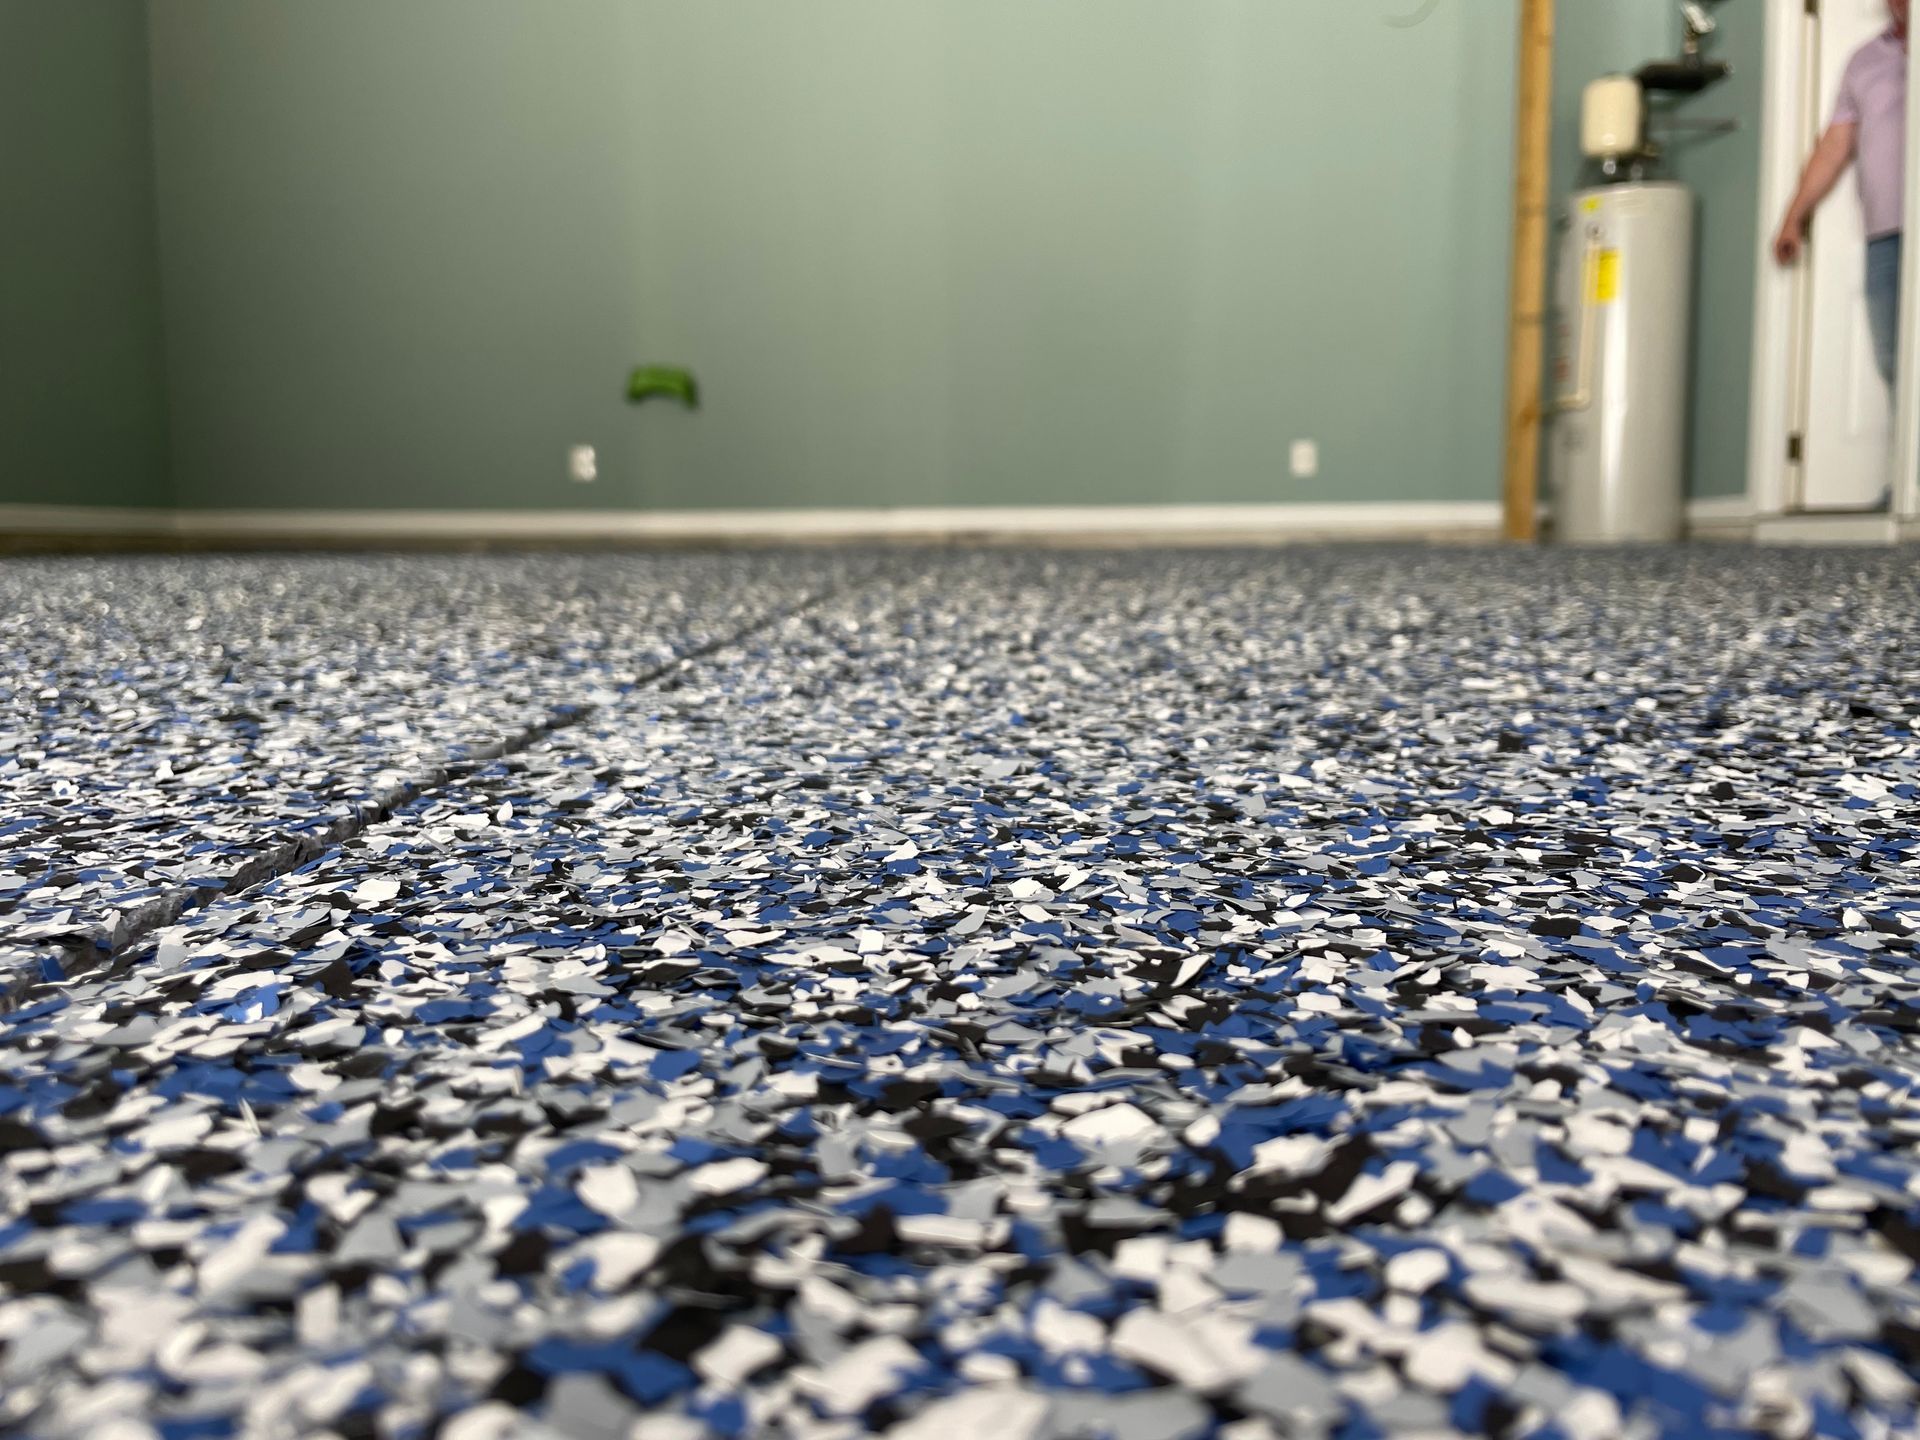
Our Designer Finishes
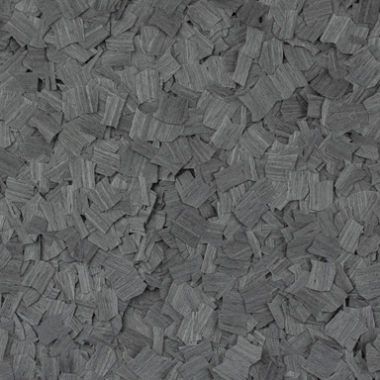
Flake
Quartz


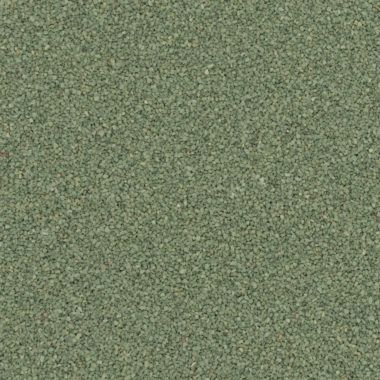
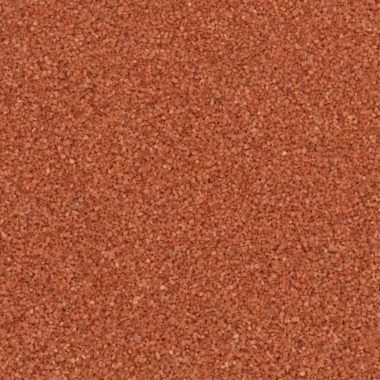
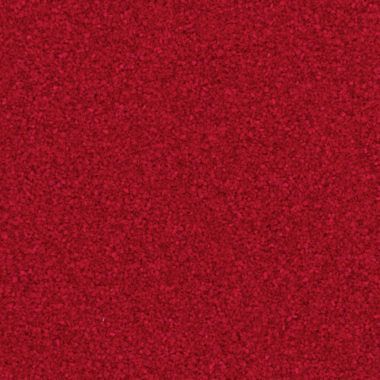


Pigment
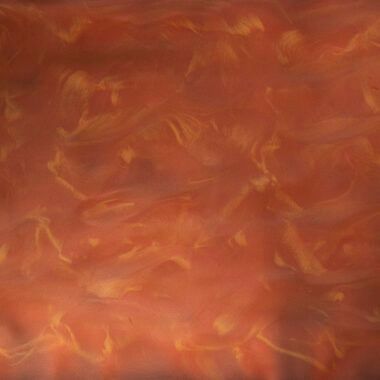

Mica
Glitter


Wood
Our Installation Process
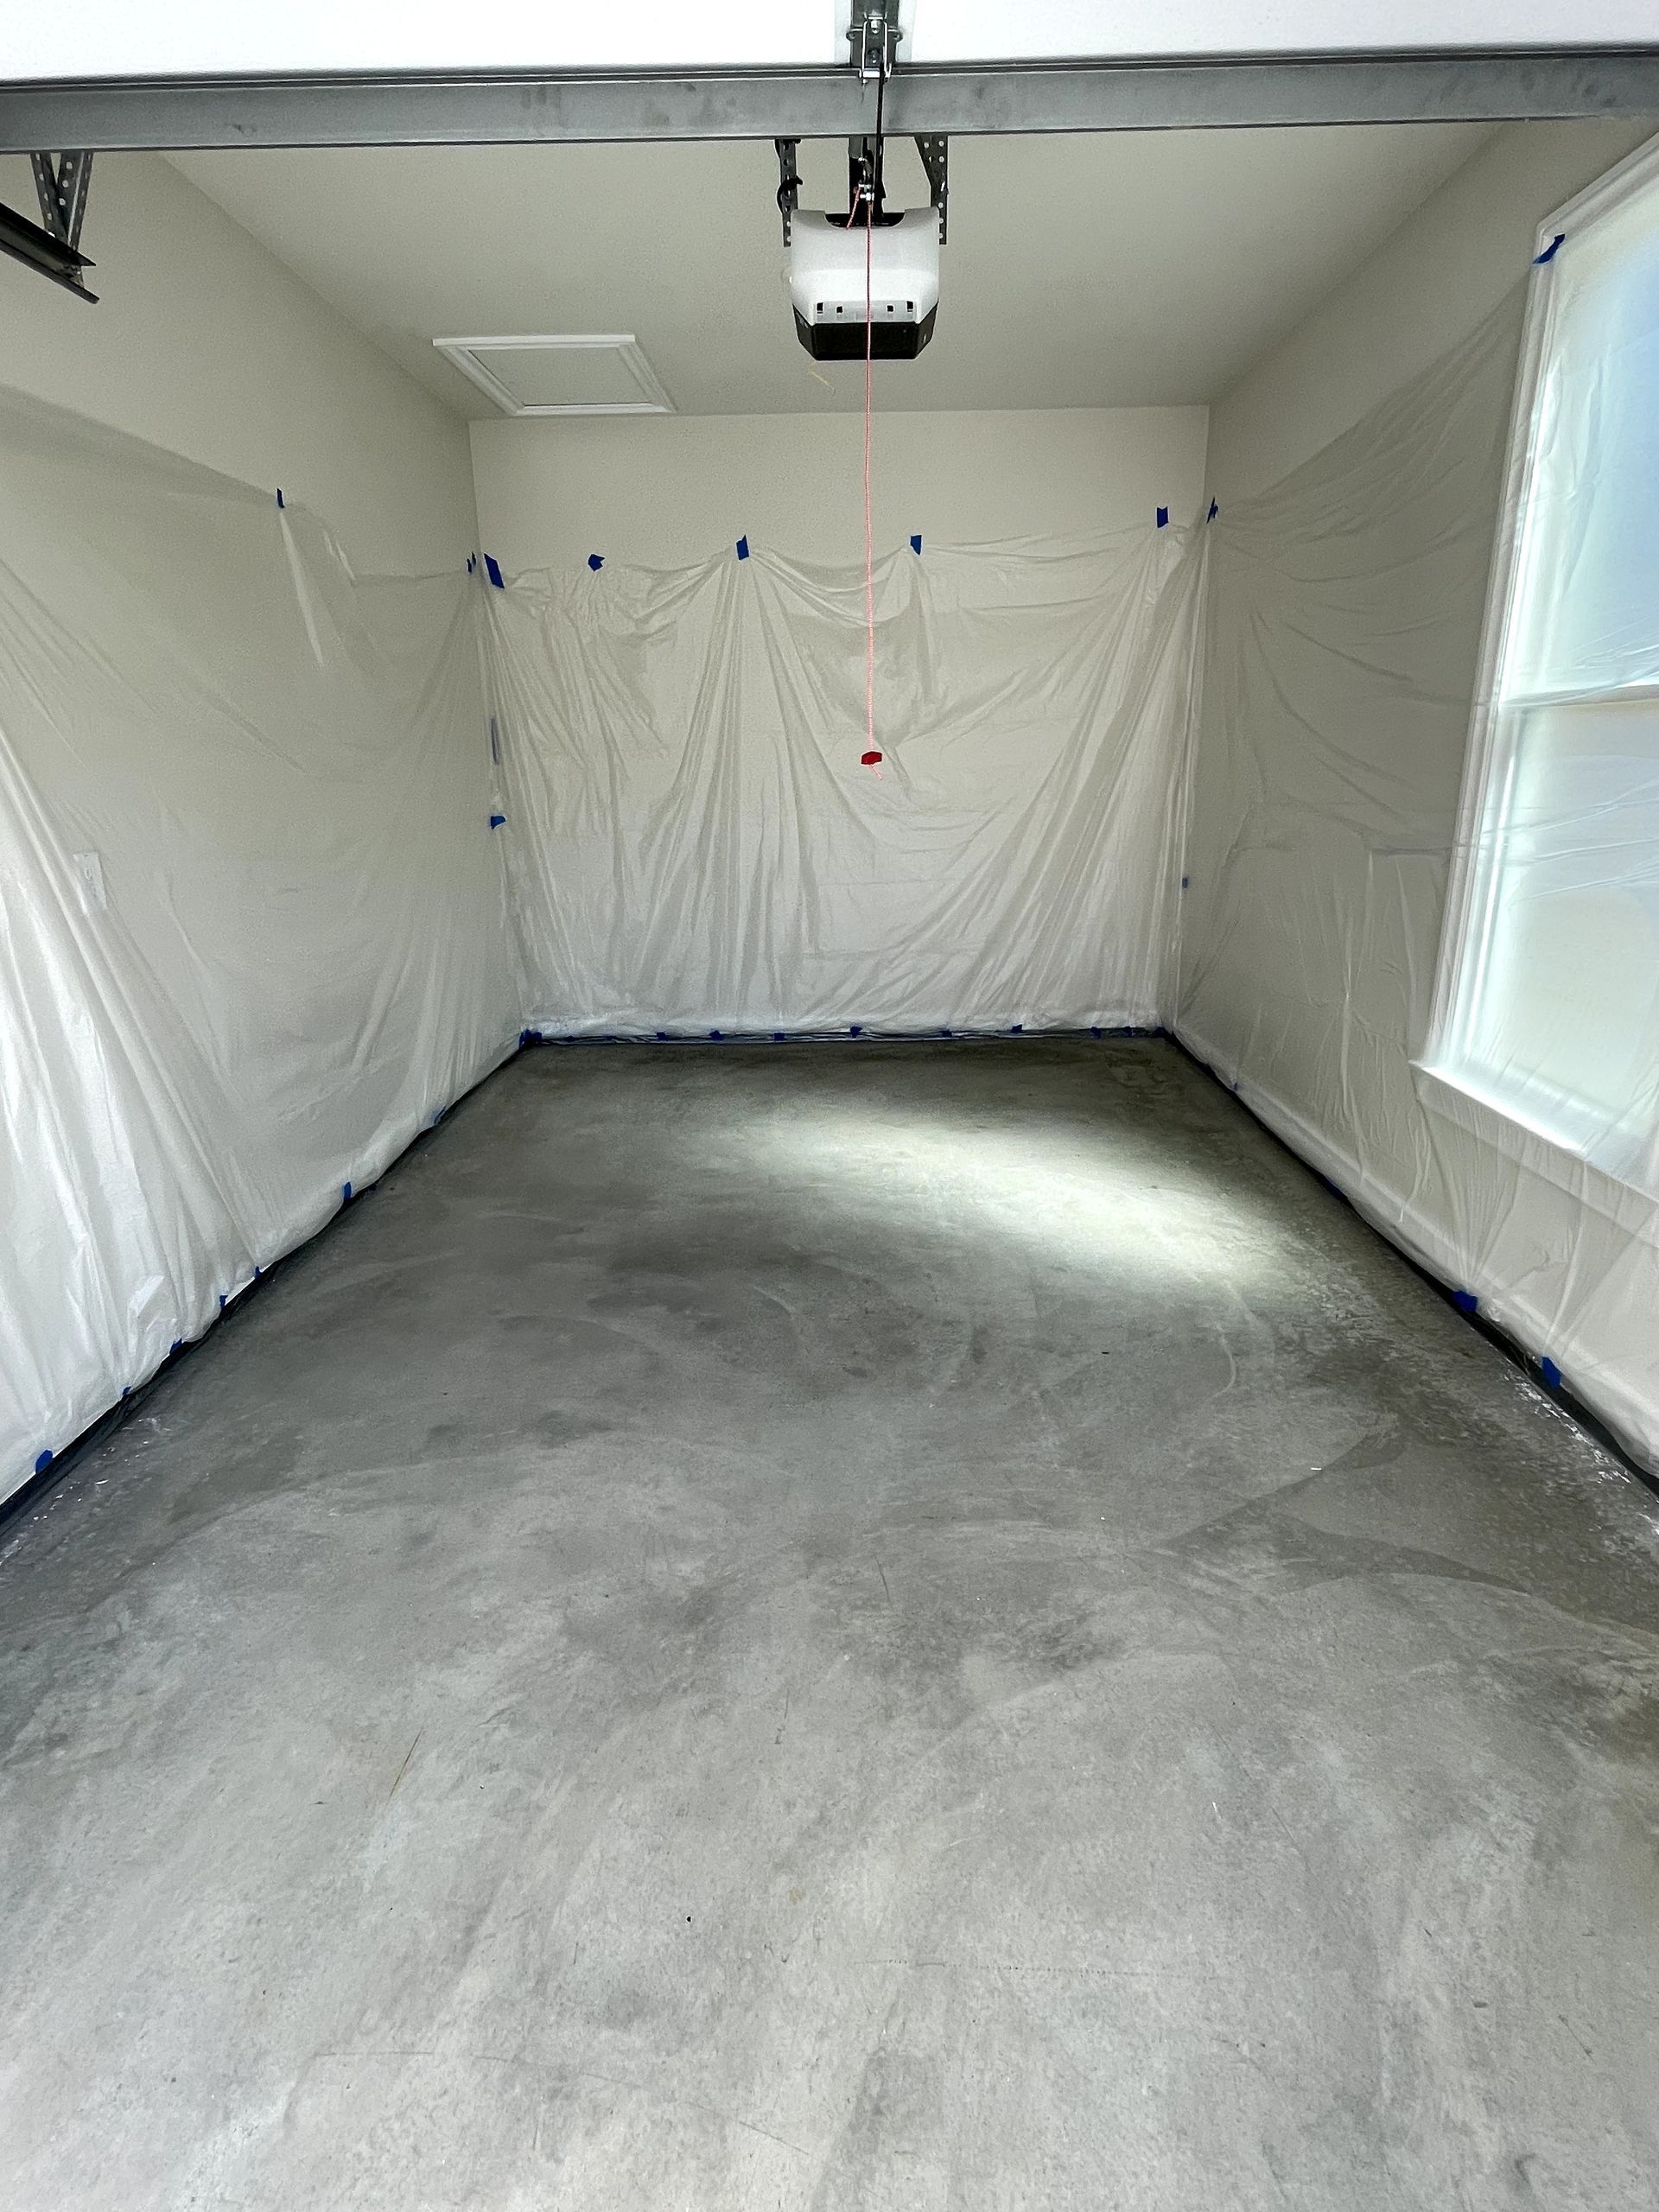
Step 1
Site Preparation
Day 1:
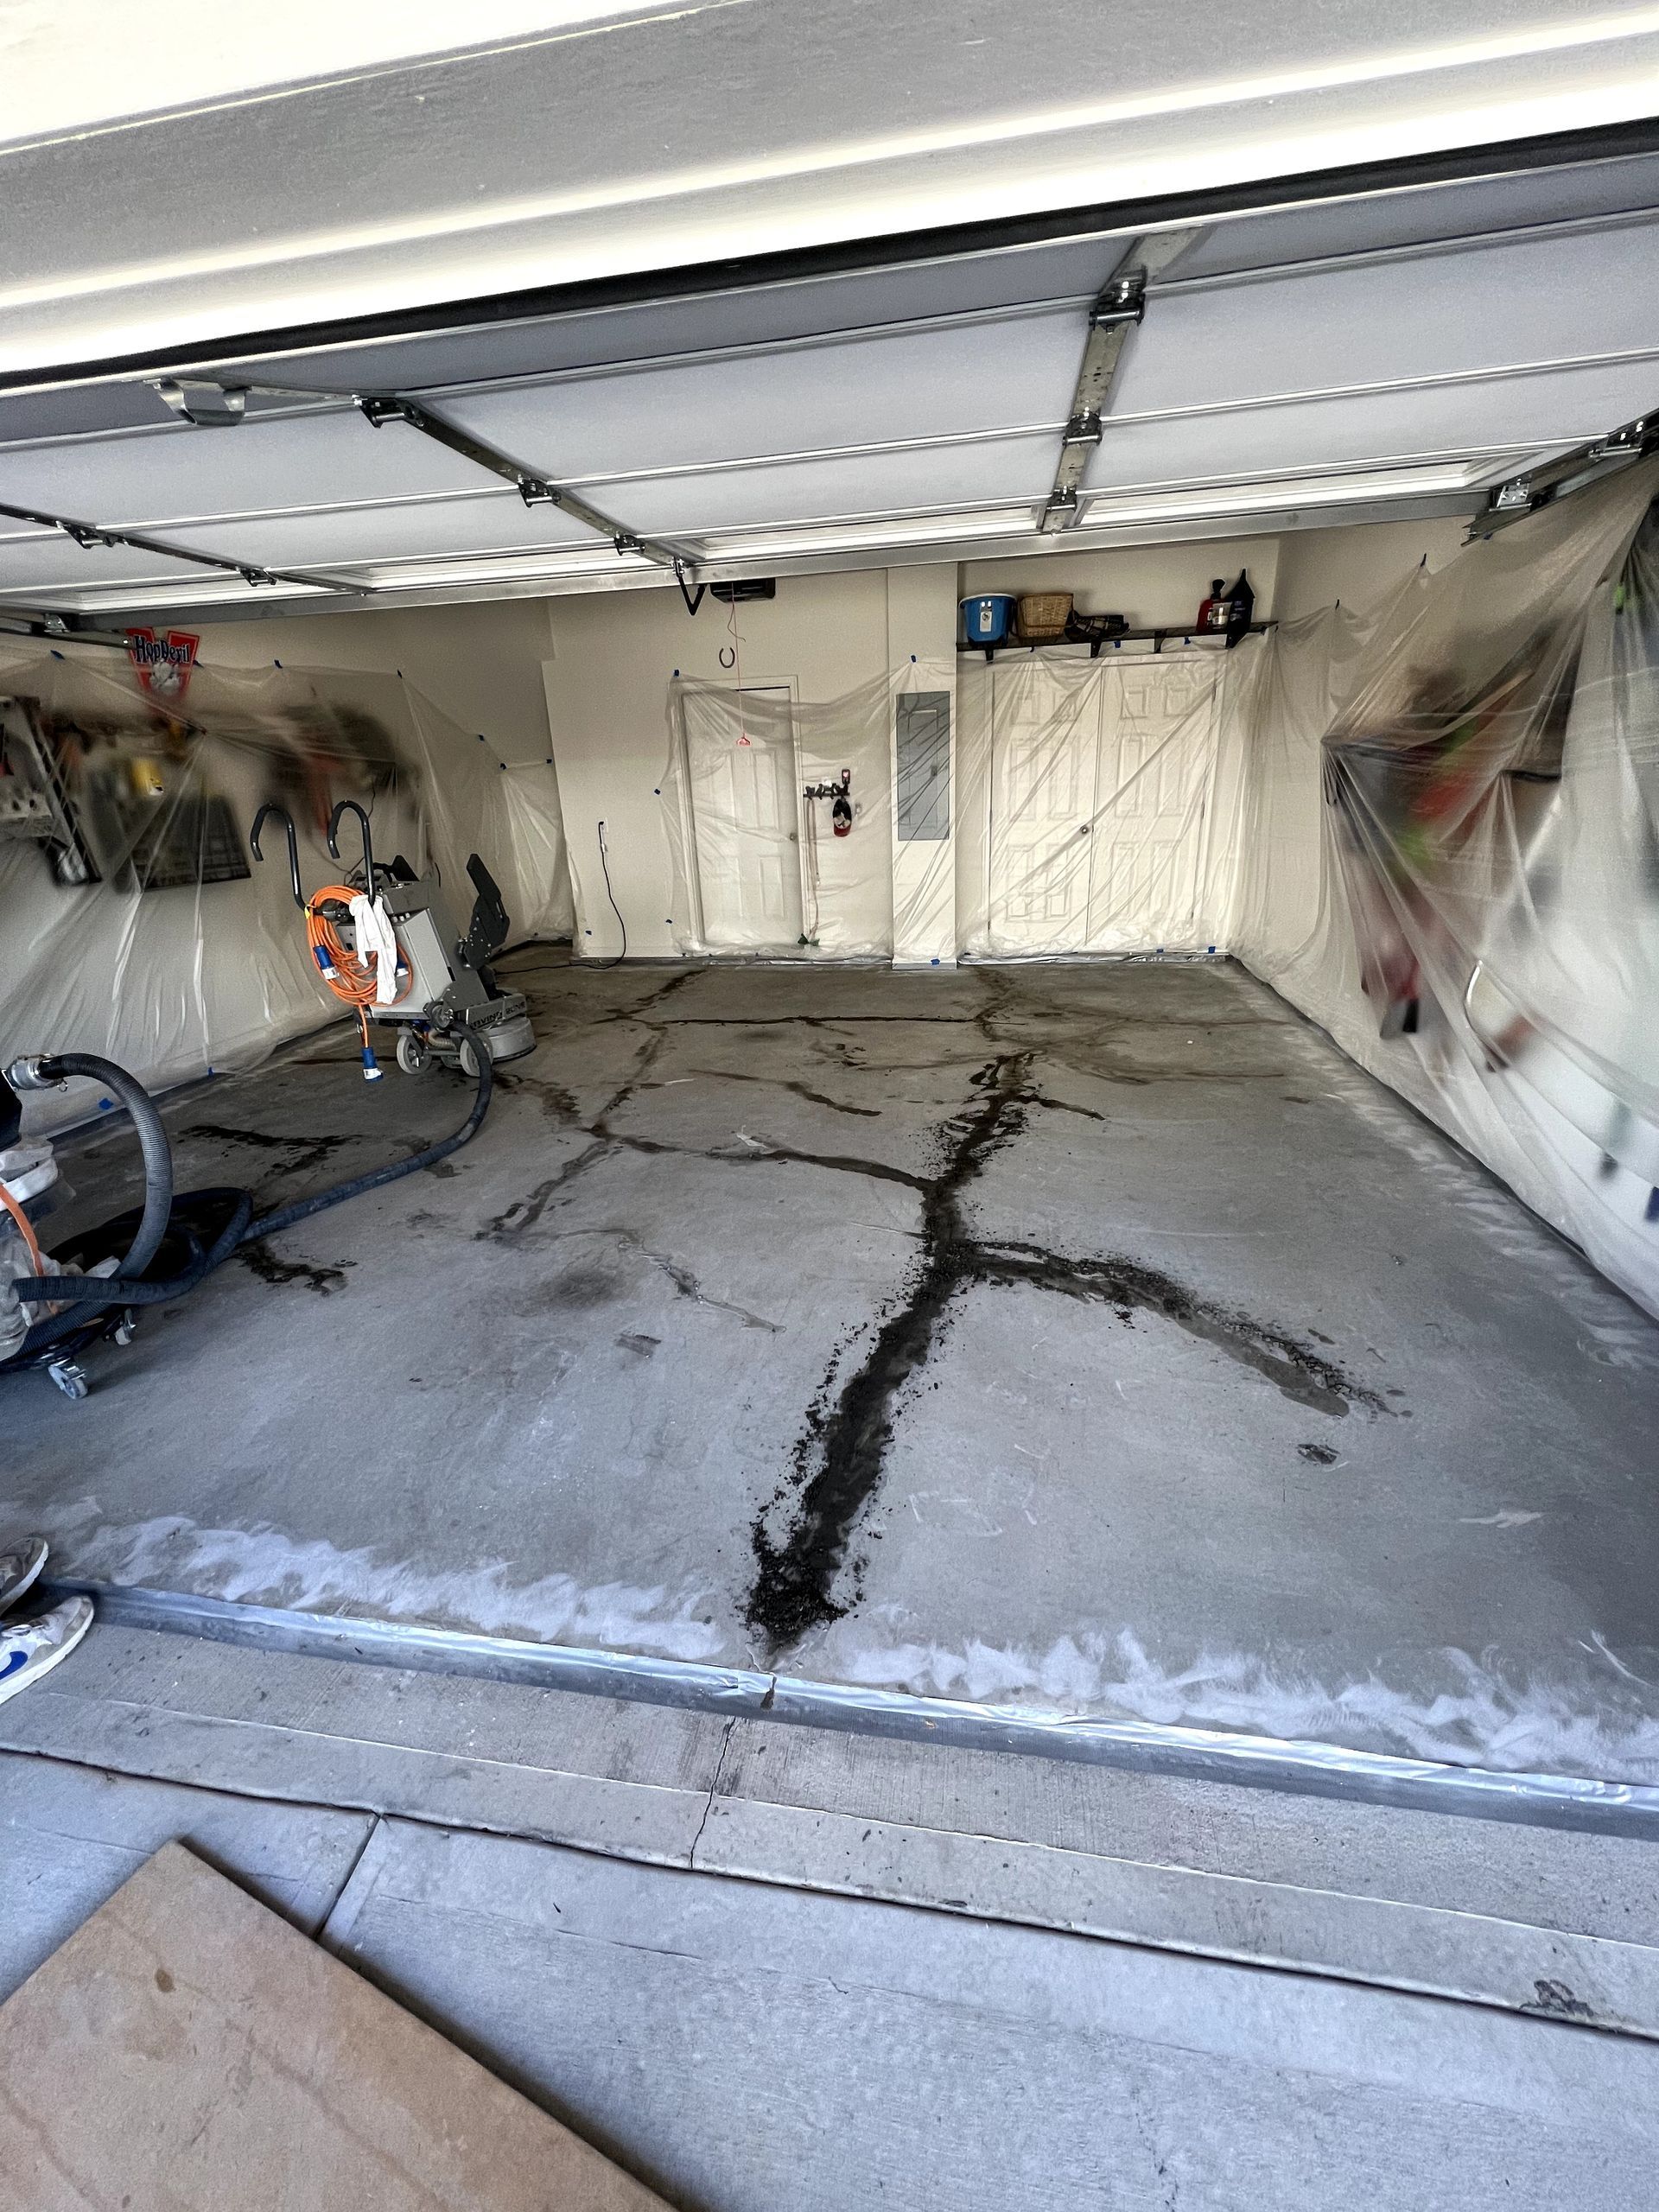
Once the area is clear of all personal items, our installation team covers the baseboard, walls and windows with protective plastic to reduce buildup of dust and debris. To begin we vacuum and clean the floor thoroughly.
As an added service, we offer the
manpower to relocate and store your personal items in a separate secured storage trailer parked in your driveway.
Step 2
Surface Preparation
Day 1:
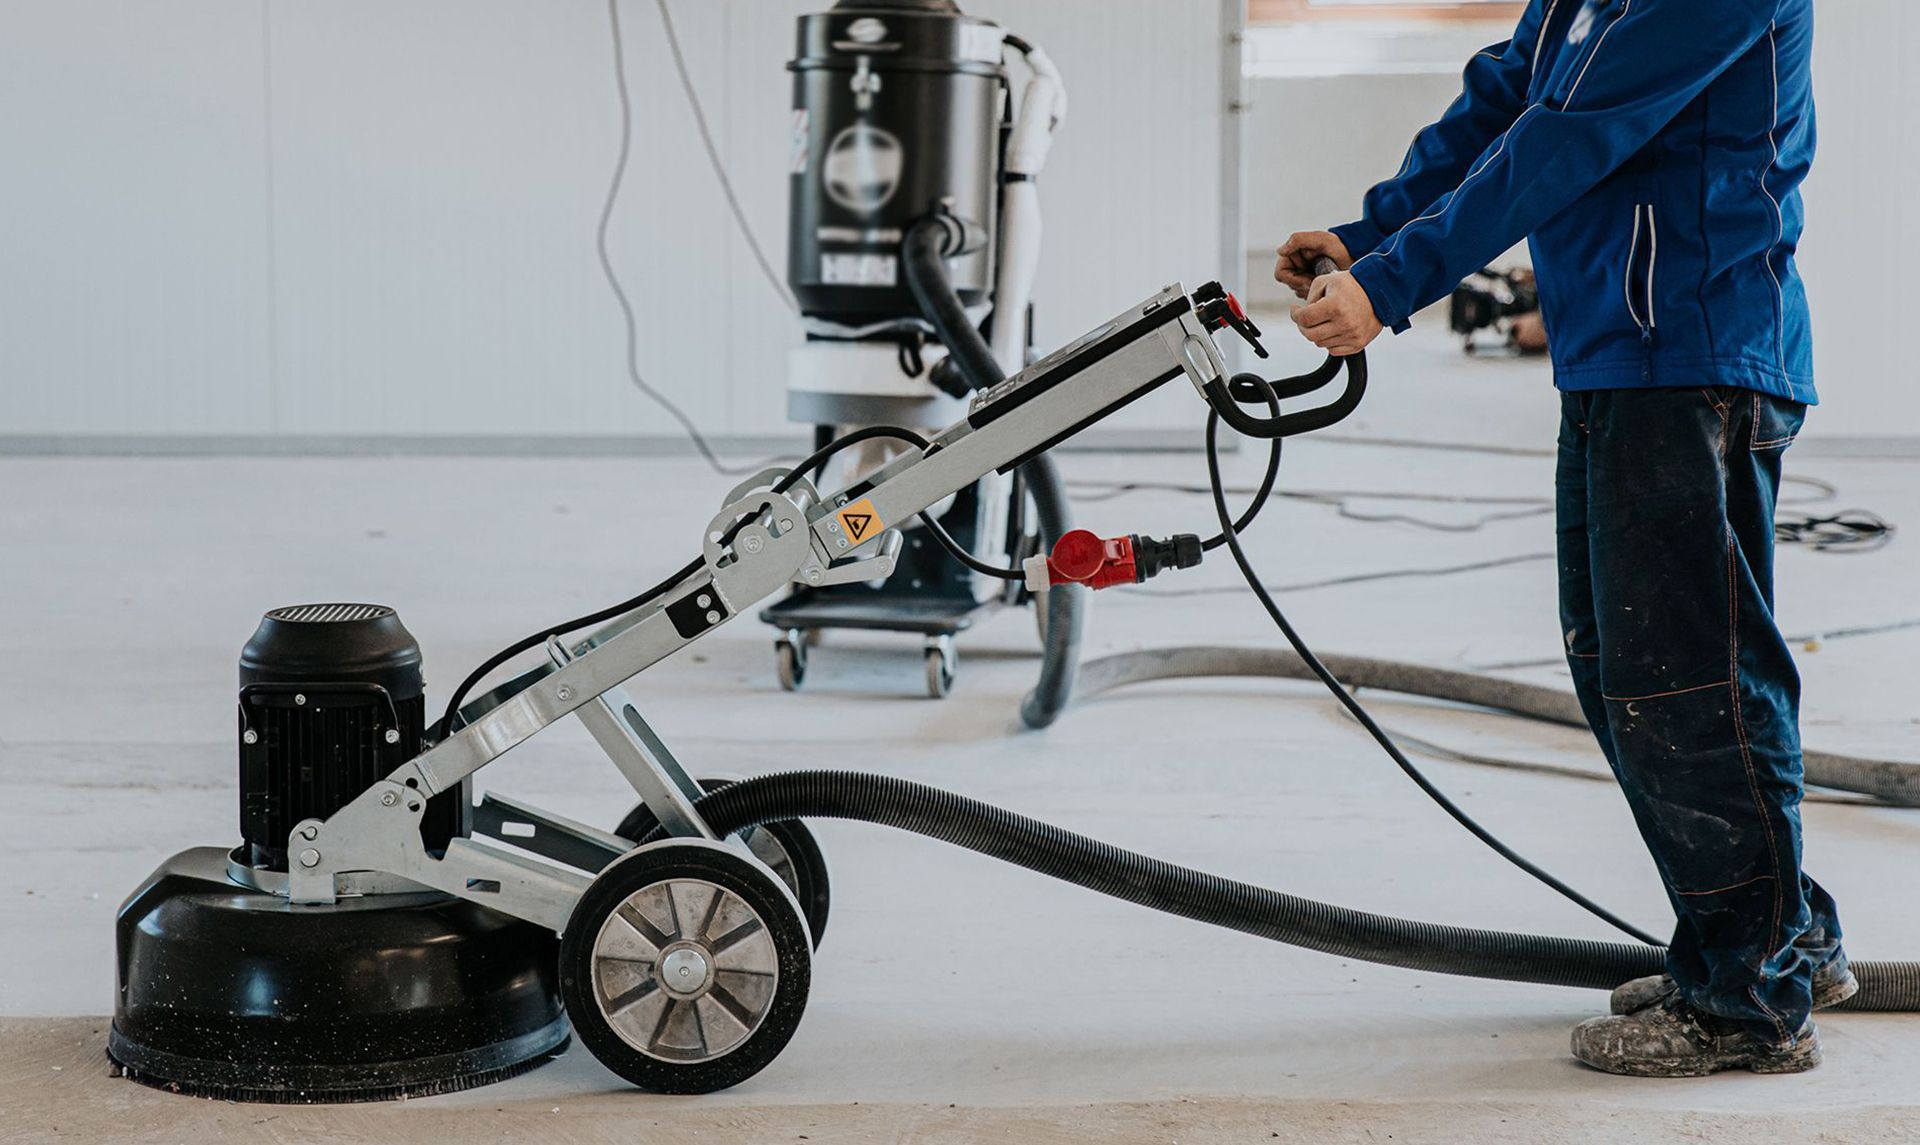
Now with a clean environment our team will mechanically resurface your floor using a walk behind commercial grade floor grinder. Our grinders are fitted with diamond abrasion disks to do the hard work and vacuum cleaners to minimize dust. Along the walls and corners we use hand grinders to avoid damage to the baseboard.
The grinding step is critical to removing the top layer and exposing a porous, contaminate-free surface. This new surface will meet CSP3 (Concrete Surface Profile) standards, ensuring the surface accepts the base coating and properly bonds creating a durable, long-lasting finish.
Step 3
Surface Repair
Day 1:
After grinding our team inspects the floor to identify imperfections such as expansion cracks, shrinkage cracks and spalling areas created by moisture.
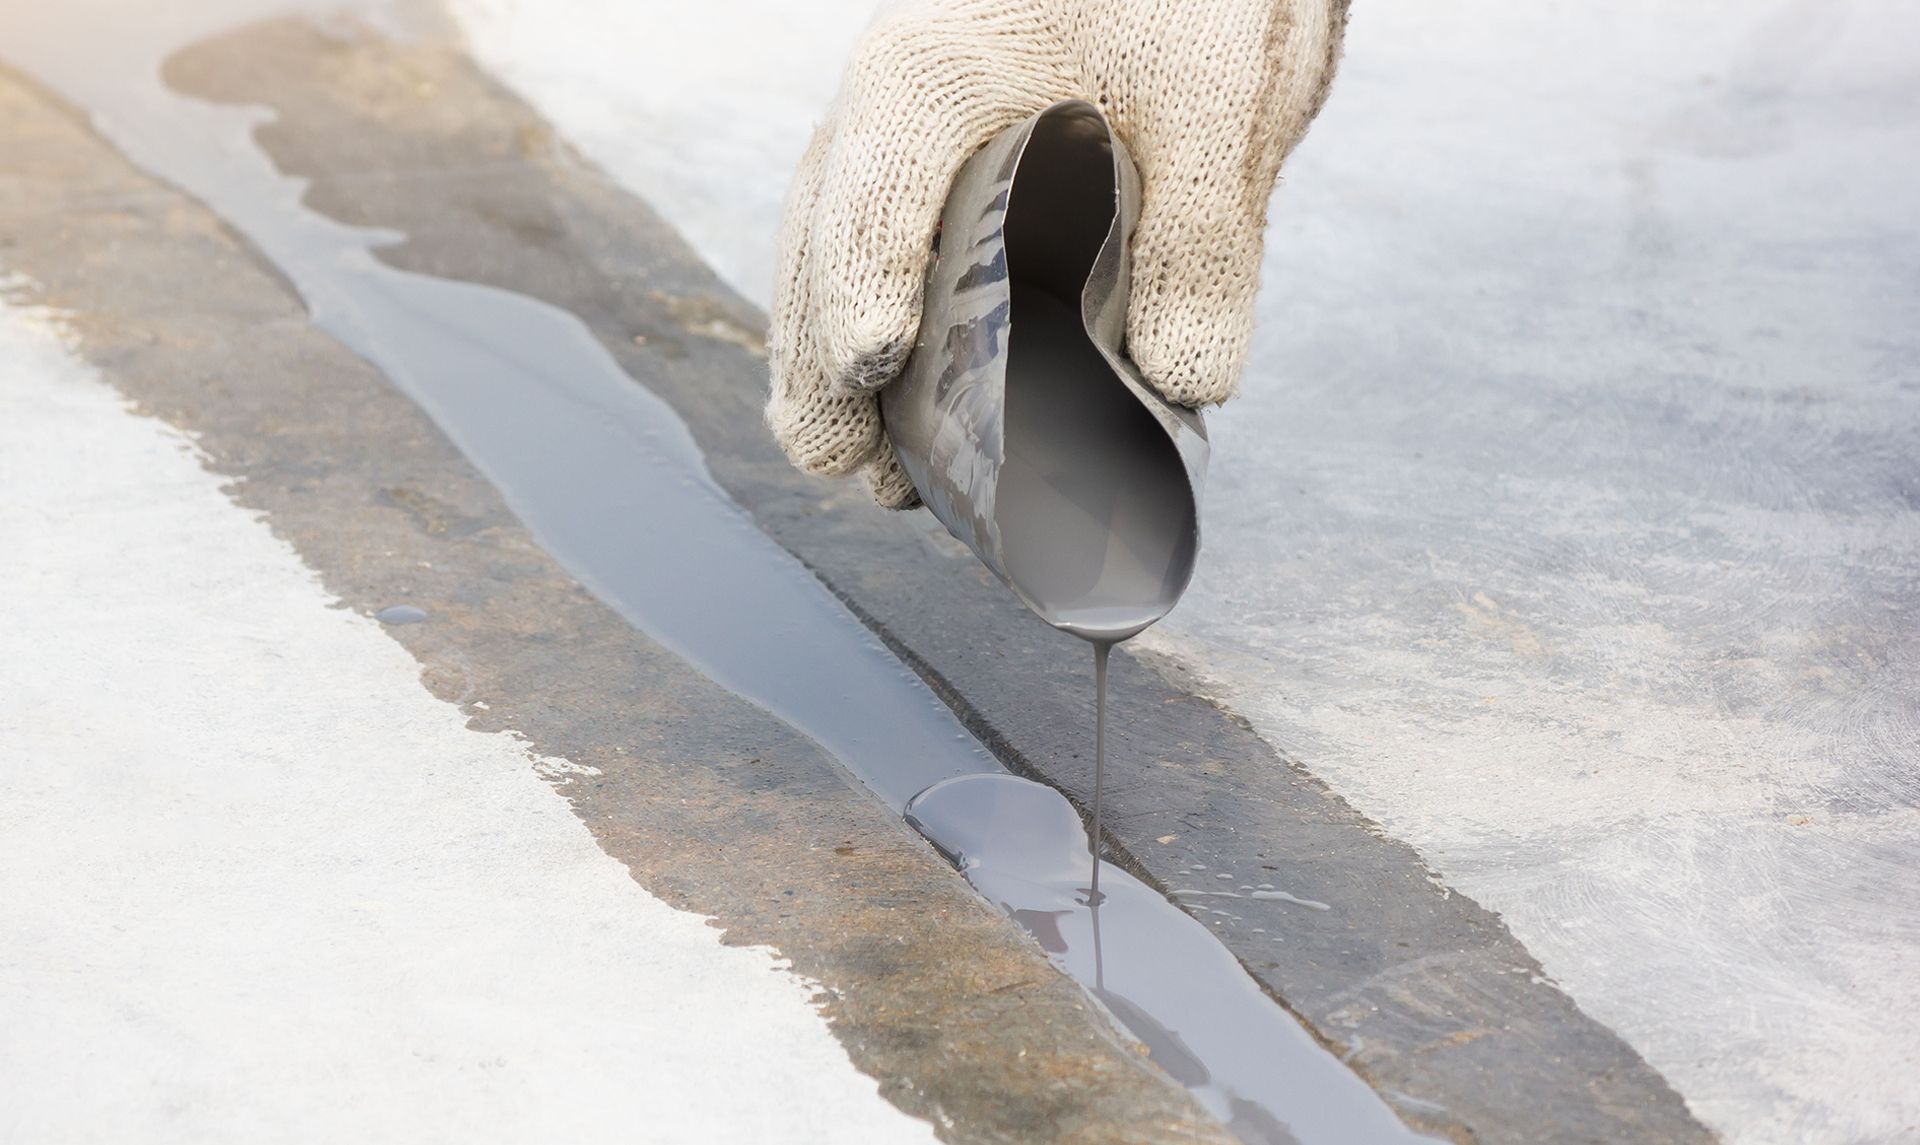
We repair these areas utilizing a fast-setting polyurea concrete repair solution. All repaired areas are hand grinded to level the affected area, and to avoid unwanted blemishes in the finish as the self-leveling base coat cures and sets.
The repair process ensures your floors are completely even and level before we apply the base coating.
Step 4
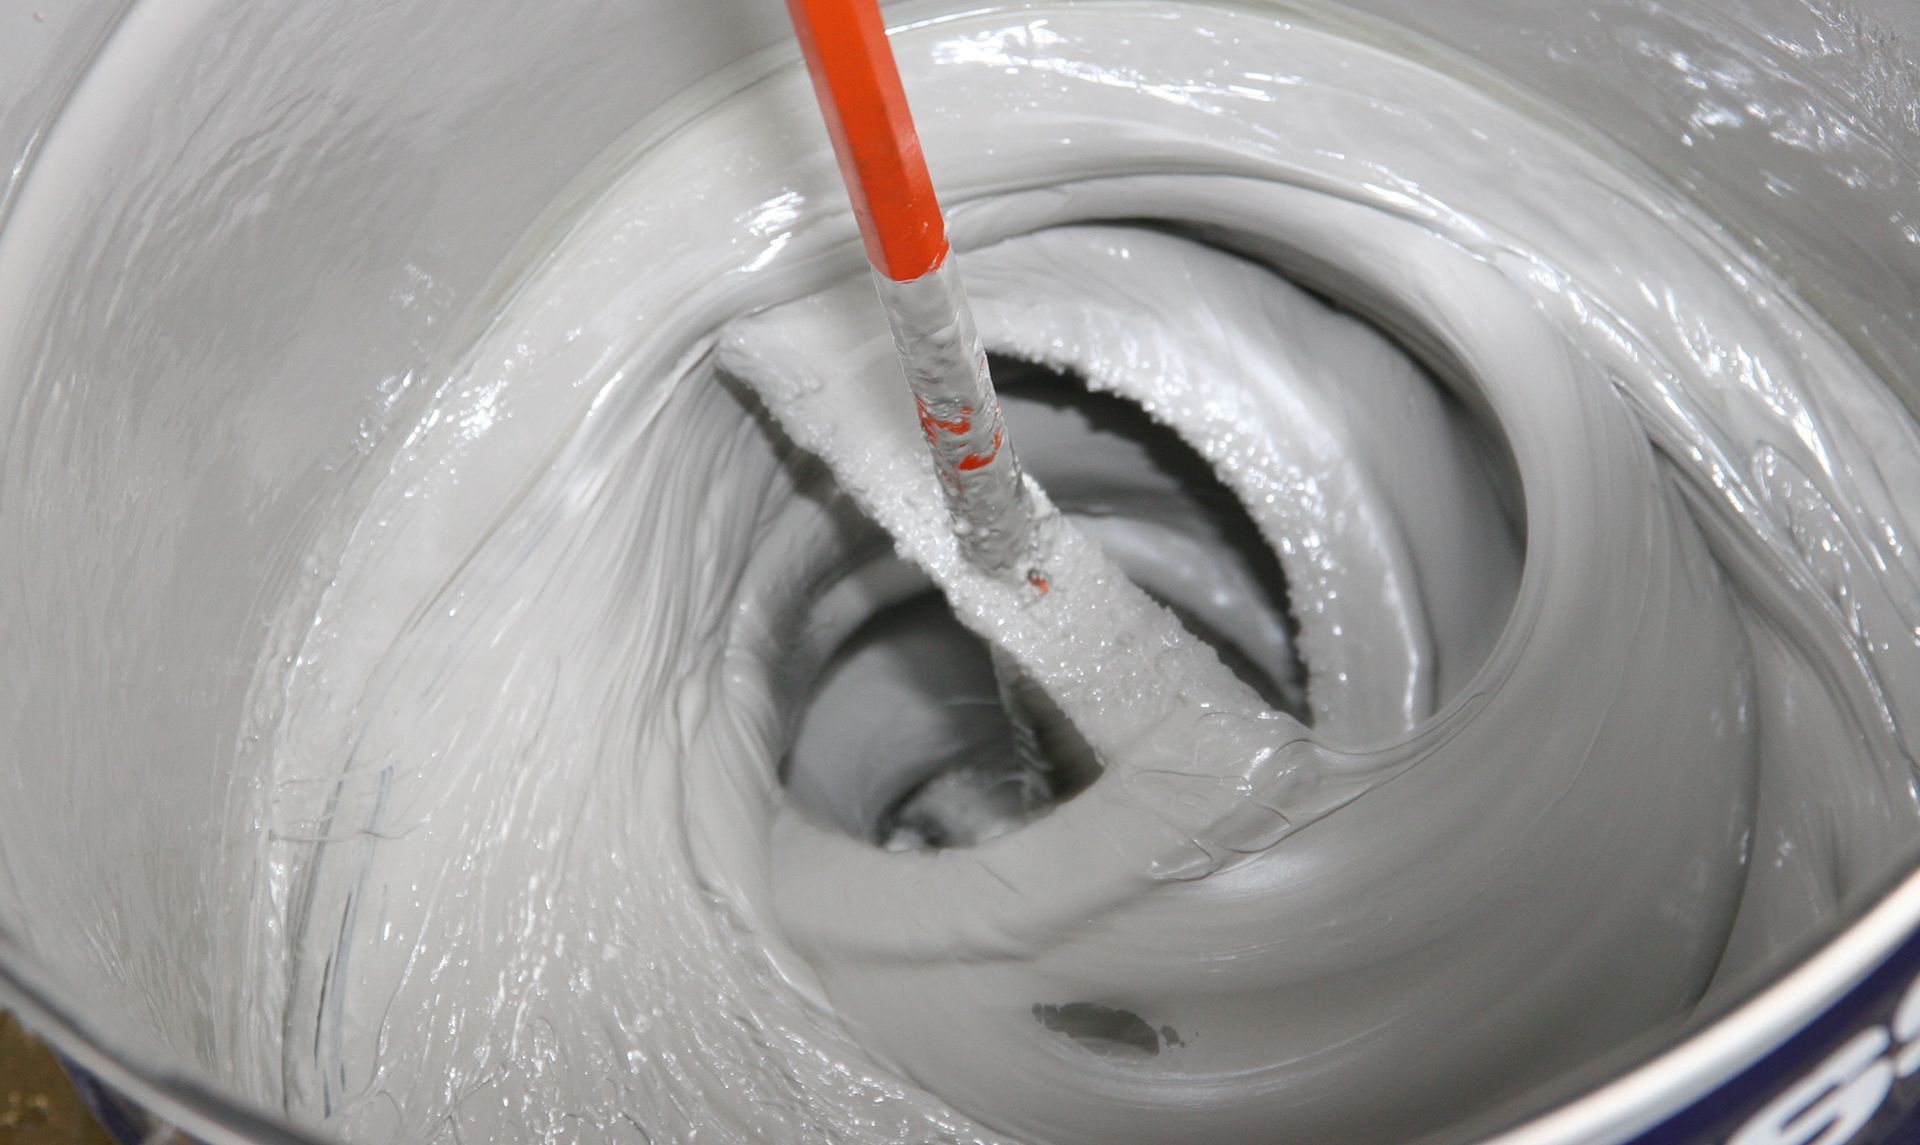
Base Coat Mixture
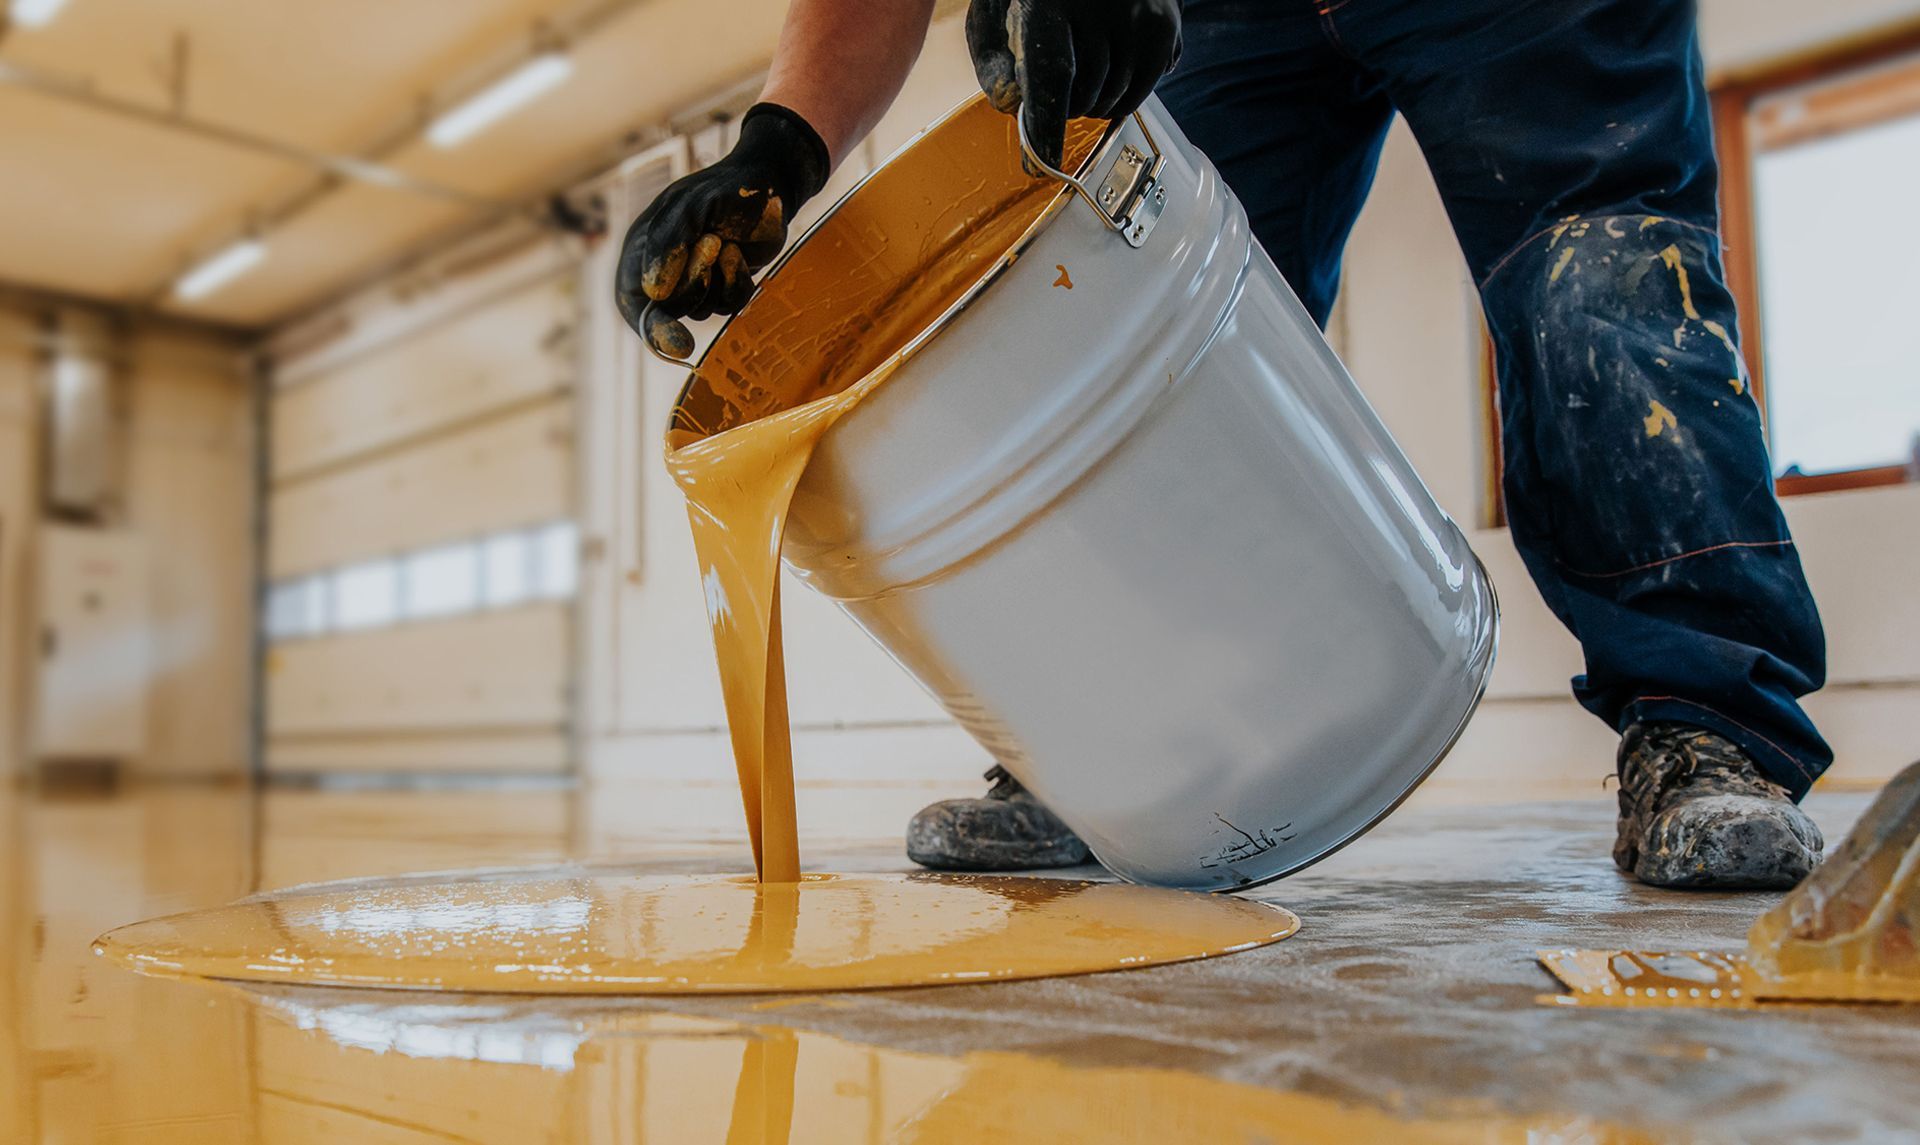
Day 1:
Once the surface is repaired our team will mix the base coat material on-site to proper ratios. This creates a chemical reaction that starts the clock with regard to the curing and bonding process.
The quantity of material mixed will utilize a formula based on total square footage to provide maximum thickness, coverage. and durability.
We use industrial-grade coating systems that are low VOC (Volatile Organic Compound) compliant as mandated by the Clean Air Act of 1990. Our coatings are manufactured by the top polymer coating suppliers in the world.
Step 5
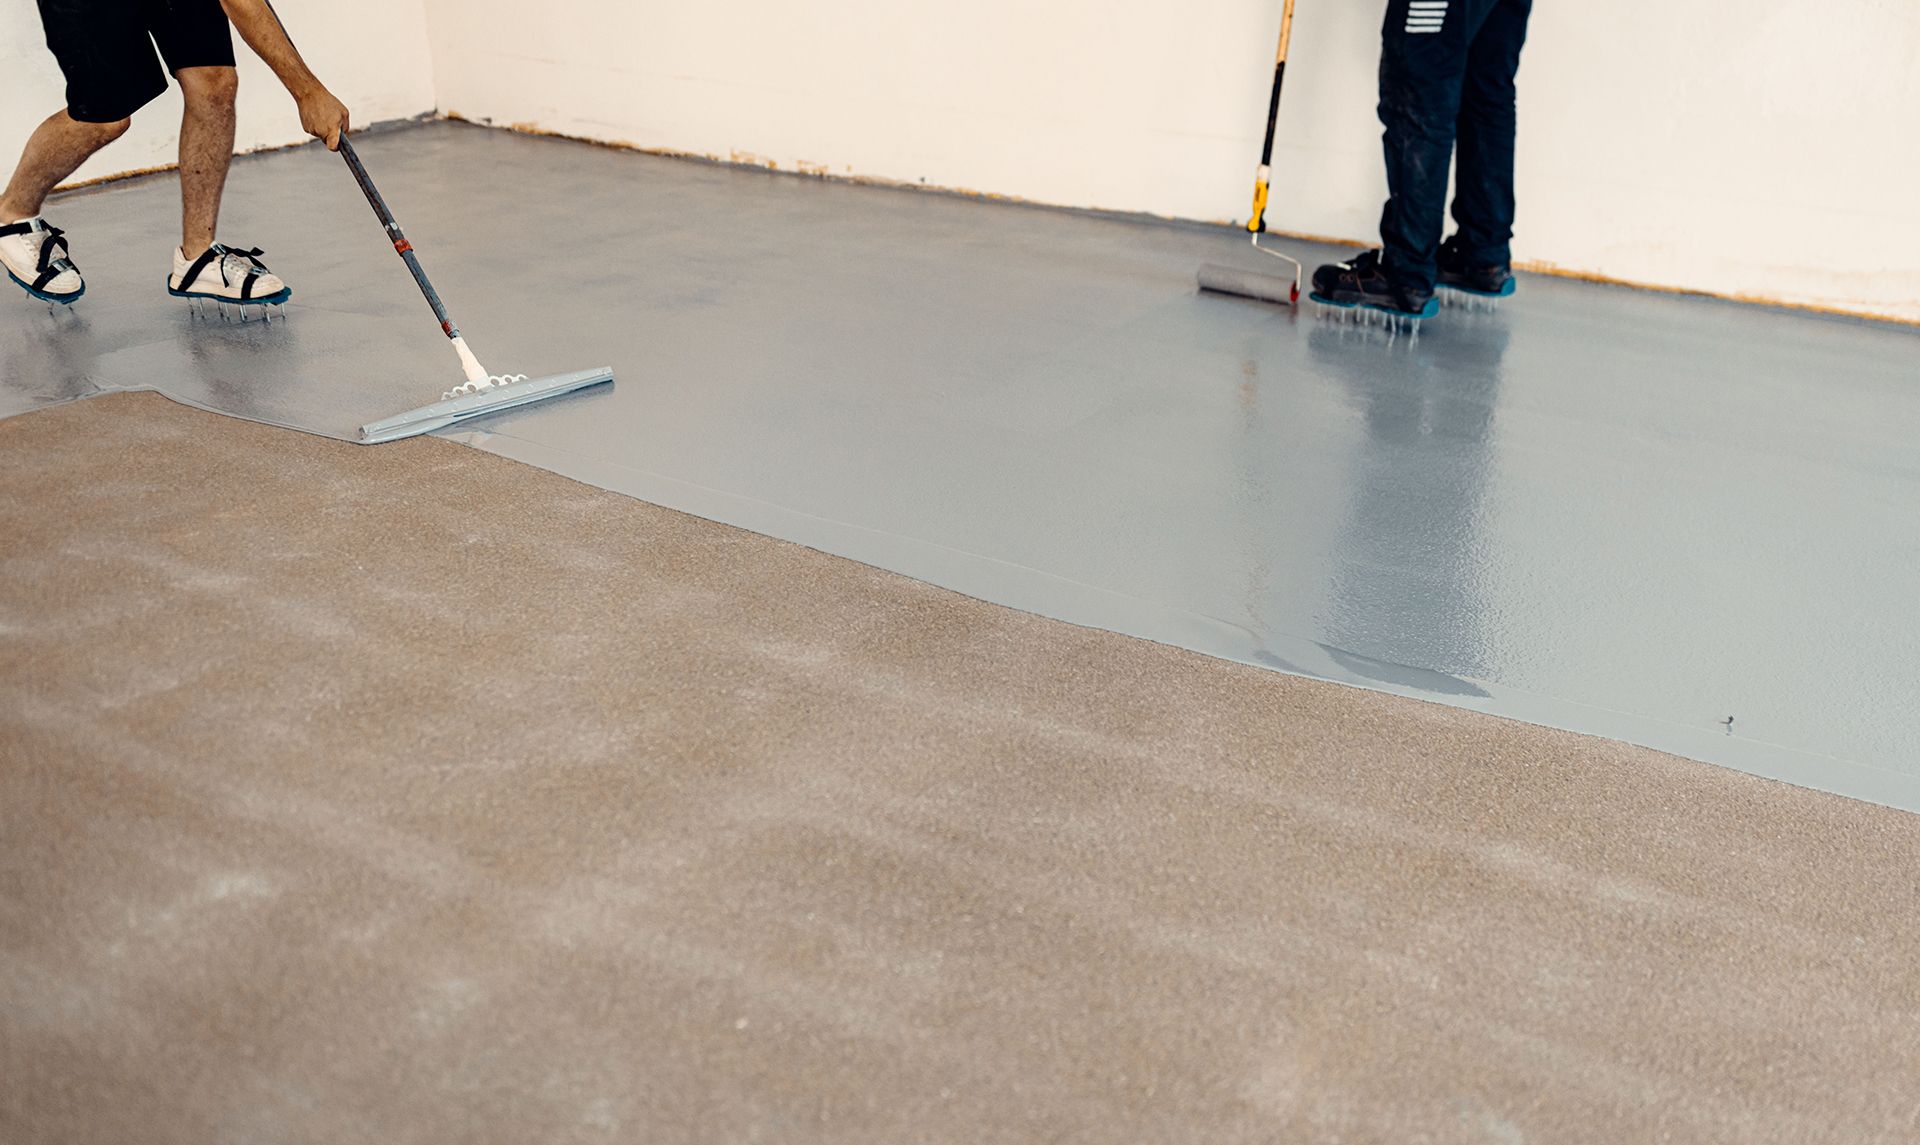
Base Coat
Application
Day 1:
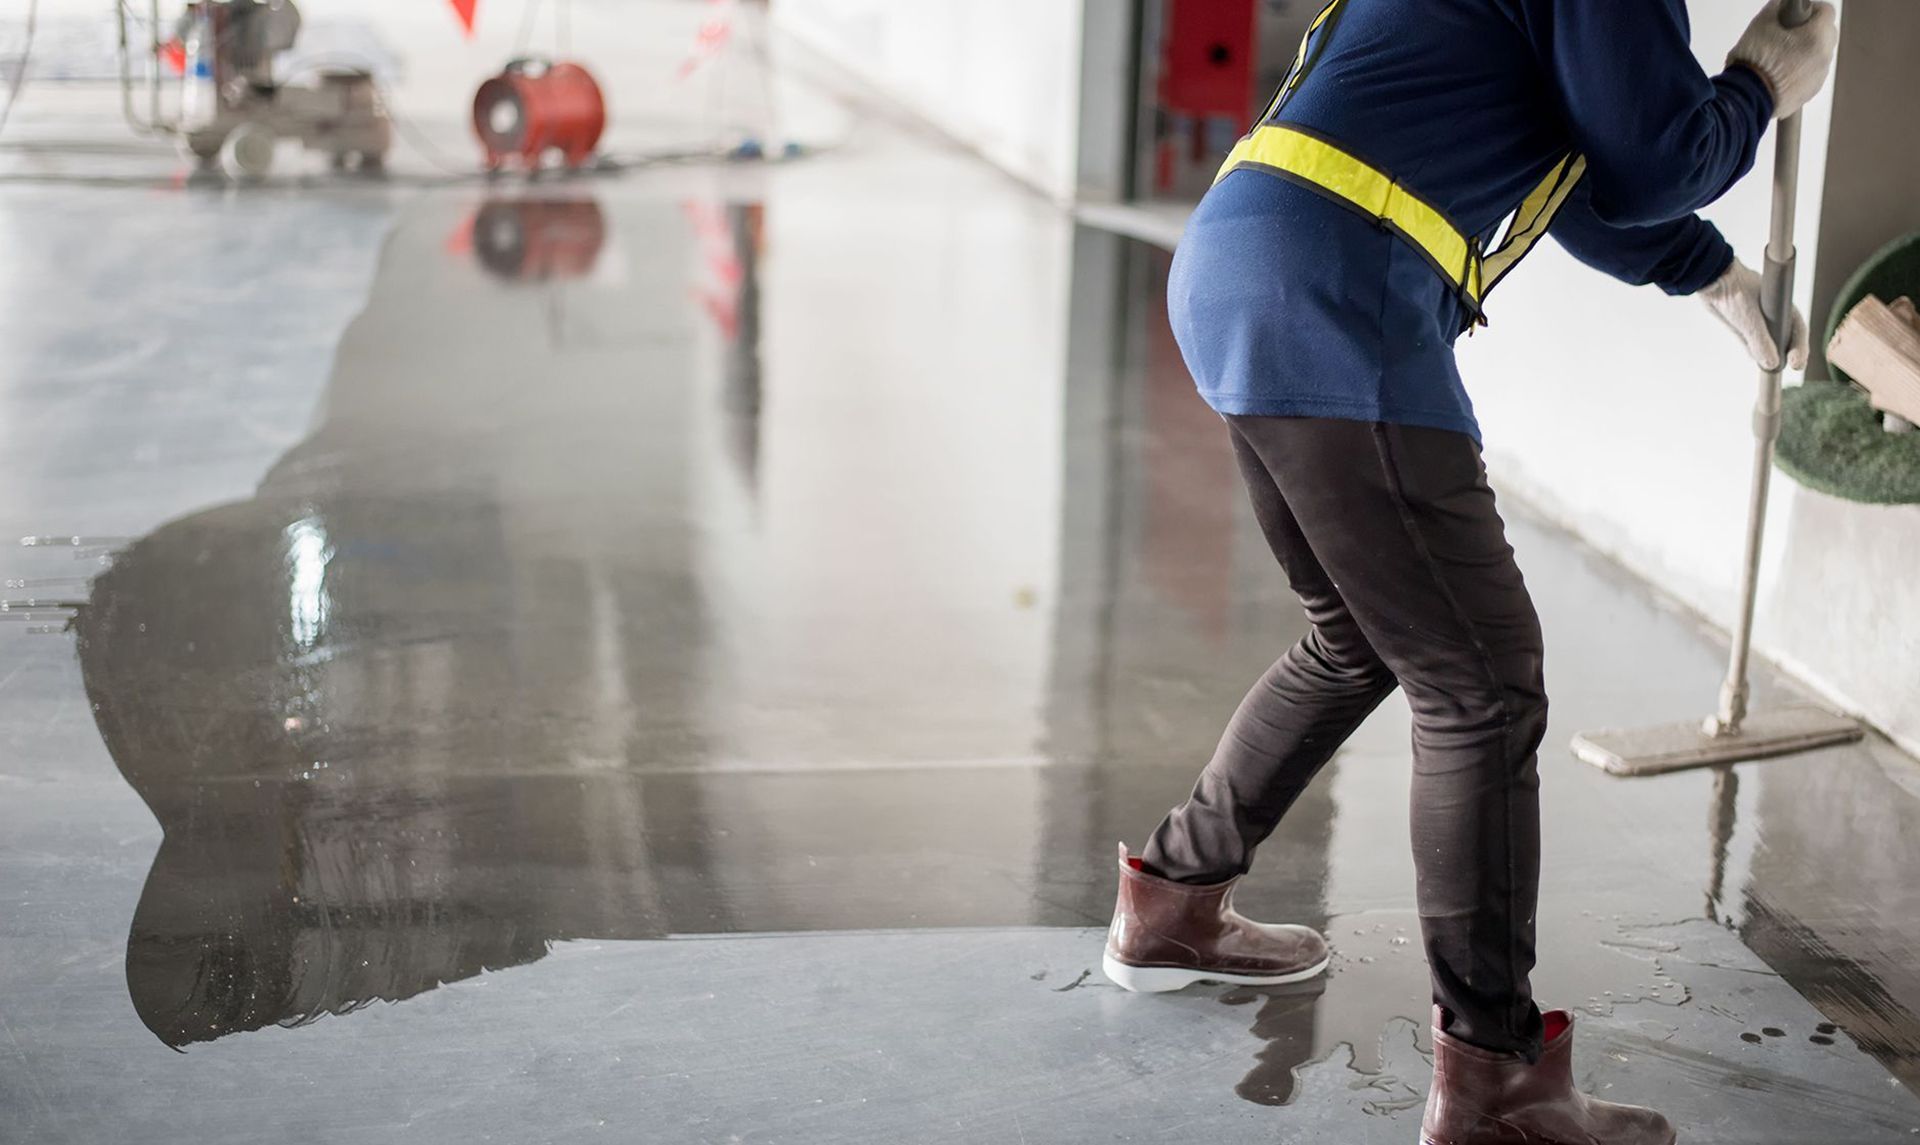
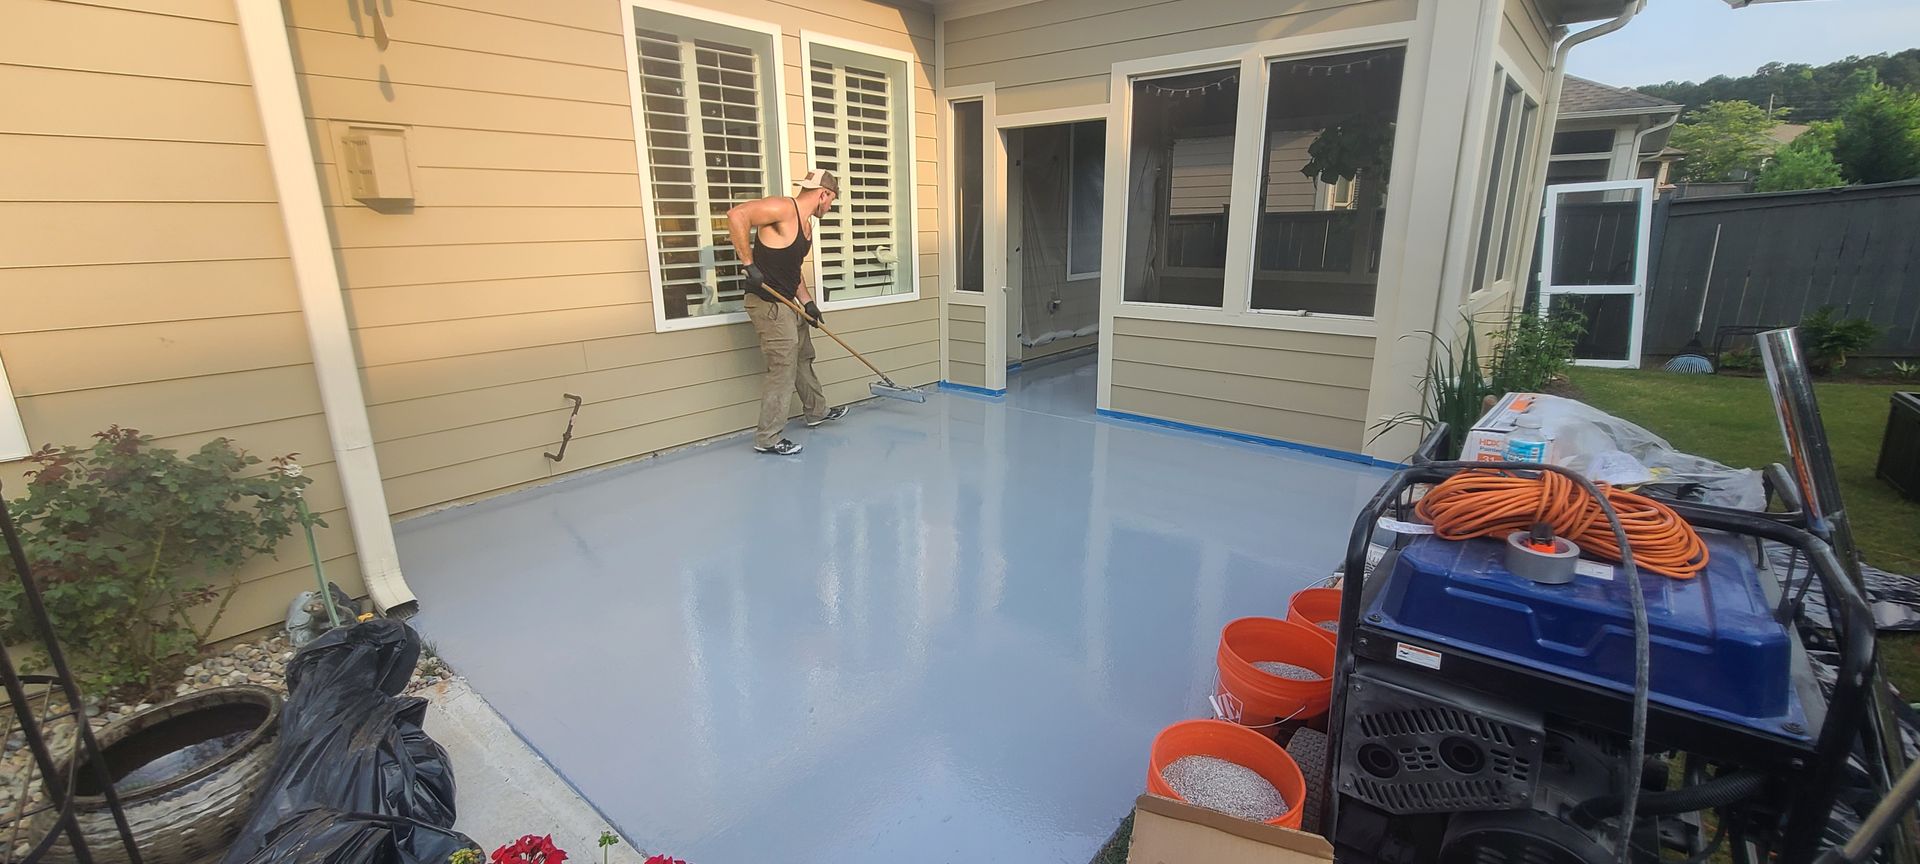
The base coat is poured onto the exposed floor and applied using a squeegee to force the epoxy material into the open pores of the concrete. The base coat is further rolled out using large rollers to ensure the liquid is uniformly dispersed across the floor.
The base cost is a layer of tinted polyaspartic polyurea material that gets absorbed into the exposed porous surface. This material is low-odor and can be used any time of year. It is also safe for the environment and your family.
The purpose of applying a base cost is to provide a layer for flaking to adhere to and to prime the surface before applying the final top layer coat. This stabilizes the surface, creating a durable foundation before final application.
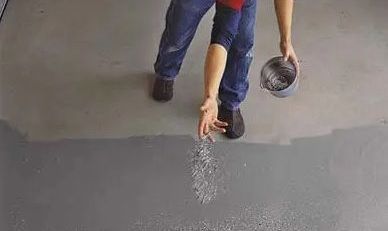
Step 6
Flake
Broadcast
Day 1:
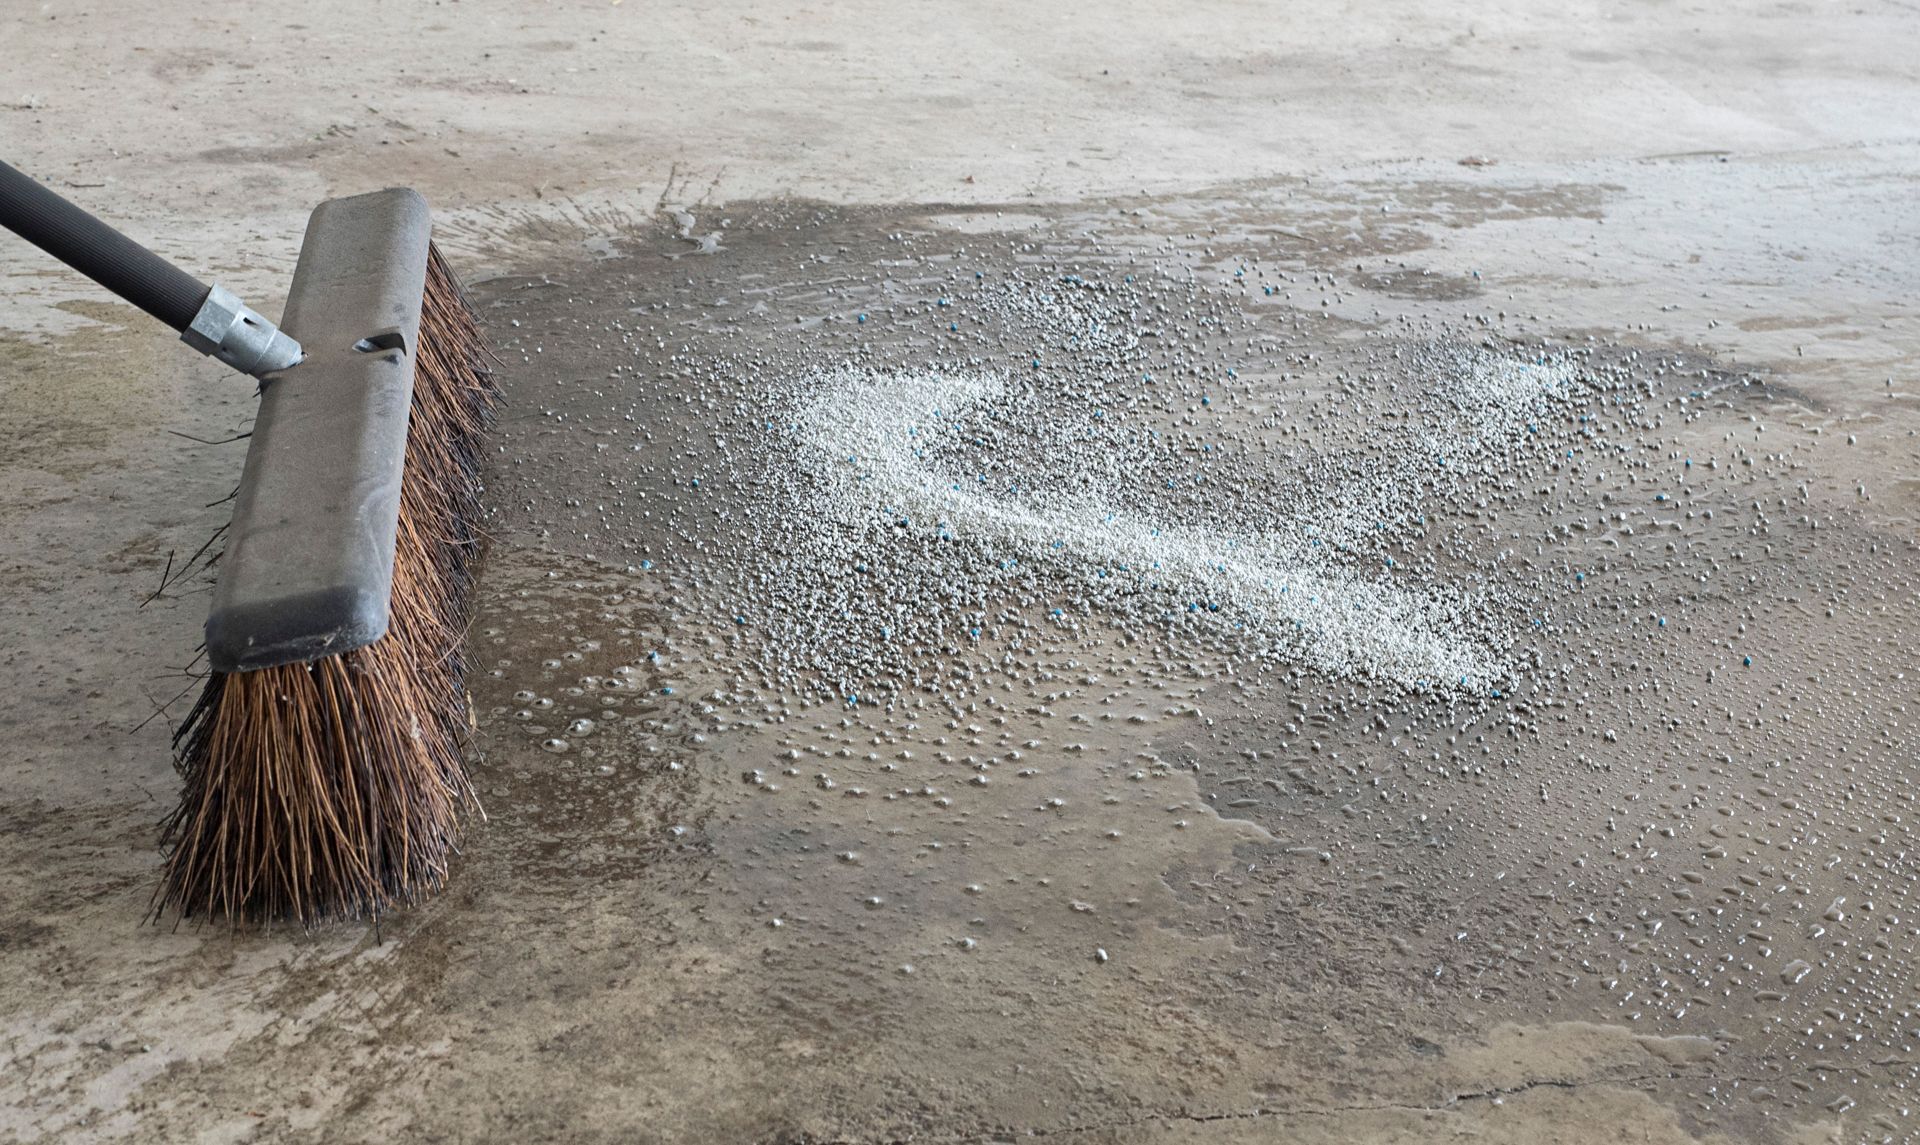
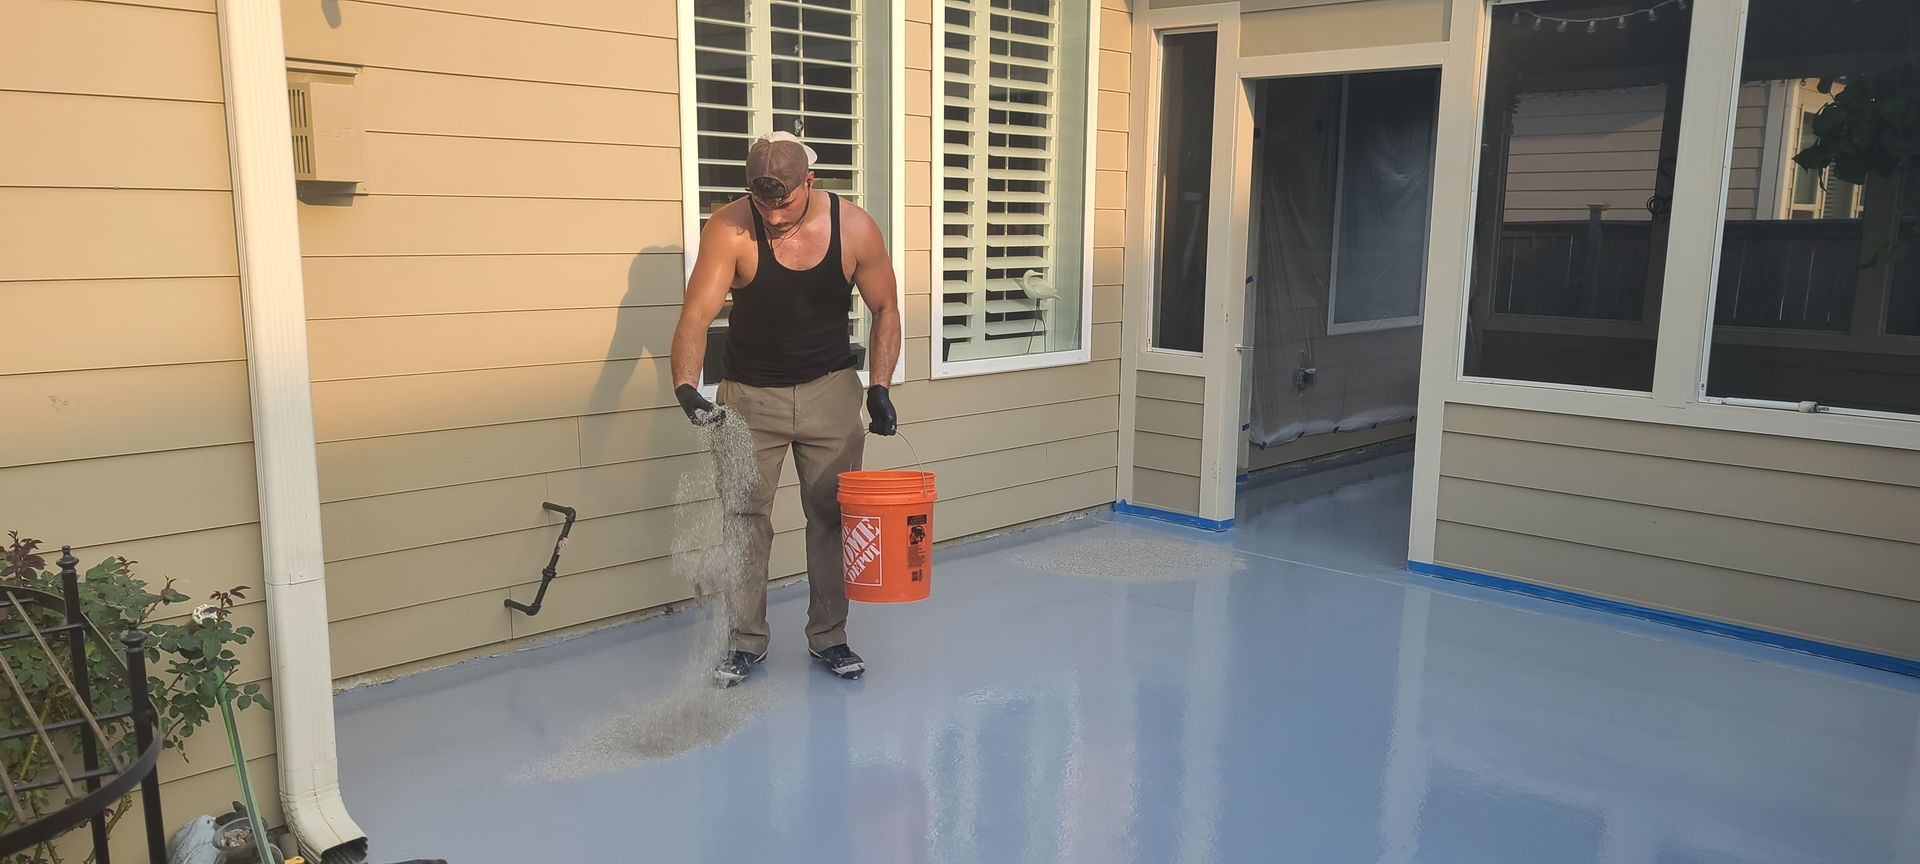
Once the base coat is applied, our team distributes the decorative flakes by hand on to the wet surface. This enables the flakes to chemically bond with the base coat to create the desired finished texture, design and color.
To hide imperfections (crack repairs, etc.) we distribute the flakes at a rate of 25 pounds per 100 SF of space. The area is then enclosed overnight (garage doors lowered) to accelerate the curing process.
Day 2:
Once the base coat and flakes have dried overnight we scrap and buff the surface smooth to remove excess flakes and create a non-slip surface.
The area is then vacuumed, air blown and cleaned in preparation for the clear coat.
Step 7
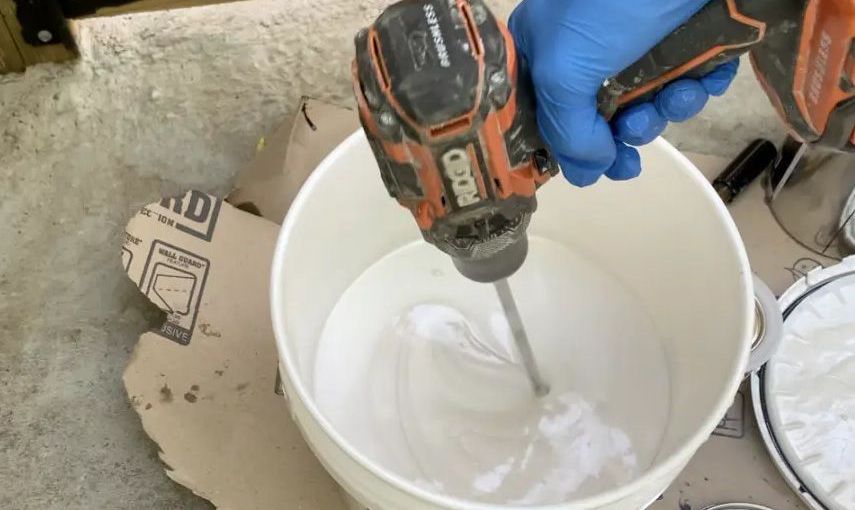
Clear Coat
Mixture
Day 2:
After the flaked area is cleaned the team prepares the clear coat sealer on-site to proper ratios. As in Step 4 this creates a chemical reaction that starts the curing and bonding process.
The quantity of material mixed will utilize a formula based on the square footage of your area to provide maximum thickness and coverage.
The final layer of clear coat will lock the flakes into place creating a durable, long-lasting surface that is chemically resistant and easy to maintain and clean.
We use variety of clear coat sealers based on the expected finished look, color and texture the homeowner desires. Our polyaspartic clear coats provide superior chemical & abrasion resistance, and UV protection.
Step 8
Clear Coat
Application
Day 2:
The polyaspartic clear coat application is the final stage of the process.
The material is applied in sufficient quantities utilizing a squeegee with back-rolling method to ensure a uniform, high gloss surface. As a high-solid polyaspartic liquid the curing process is very rapid and must be applied in a timely manner with precision.
Anti-slip additives can be applied at this step to give the finished surface additional anti-slip resistant properties. Your finished flooring will be protected and sealed to stand up to the weight of vehicle traffic, moisture intrusion, salt, oil, gas, and grease.
Before departing, we clean up our work space and store our equipment to ensure your home is returned to it's normal appearance. If contracted our team will unload and return your personal items from the storage trailer.
Recent Projects
Why Work with Southern Enterprise Group
Decade of Experience
Professional
& Trustworthy
Fully Licensed
& Insured
Customer Satisfaction
Guaranteed
In-Home Visit &
Free Estimates
Competitive Pricing
Budget Affordable
Projects
On-Time & On-Budget
Detailed, Responsive
& Transparent
On-site Supervision
& Management
Trained & Certified
Craftsmen
Commercial Grade
Quality Materials
Best Selection of
Designer Finishes
Proven Installation
Process
Discounts Offered
for 2 or more Projects
Service Warranty
Provided